 怎样用ArduinoUno控制采用双伺服SG90电机的云台式摄像机支架
操纵杆模块
操纵杆是控制伺服电机的最简单方法之一。虽然一些教程需要电机或其他额外的东西,但本教程只需要基本的外围设备。操纵杆又名“拇指操纵杆”是项目的一个很酷的控制界面,特别是对于机器人技术。 X轴和Y轴是两个~10k的电位计,可以通过生成模拟信号来控制2D运动。还有一个按钮,可用于控制其他命令或动作。
HC-SR04
在本教程中,我将以HC-SR04超声波传感器为例设置伺服控制的云台。但是,请记住,支架可用于传感器,相机等!
让我们开始吧
收集硬件
Arduino UNO
2伺服电机SG90
操纵杆模块
双伺服支架
一些跳线
HC-SR04
Arduino UNO
操纵杆模块
伺服电机
面包板
云台支架套件
首先组装双伺服支架。我正在使用Sparkfun的摇摄/倾斜支架套件。
连接硬件
让我们从2个伺服器开始。我正在使用面包板来简化连接。
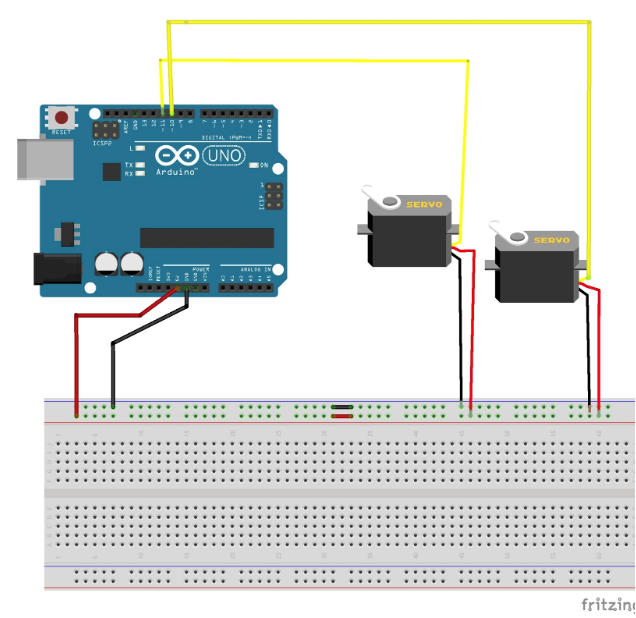
伺服电机和Arduino Uno的连接。
上/下伺服Arduino右/左伺服Arduino
红色电缆5V红色电缆5V
黑色电缆GND黑色电缆GND
黄色或白色电缆P WM(4)黄色或白色电缆PWM(10)
按照上面和下面的连接图完成连接。
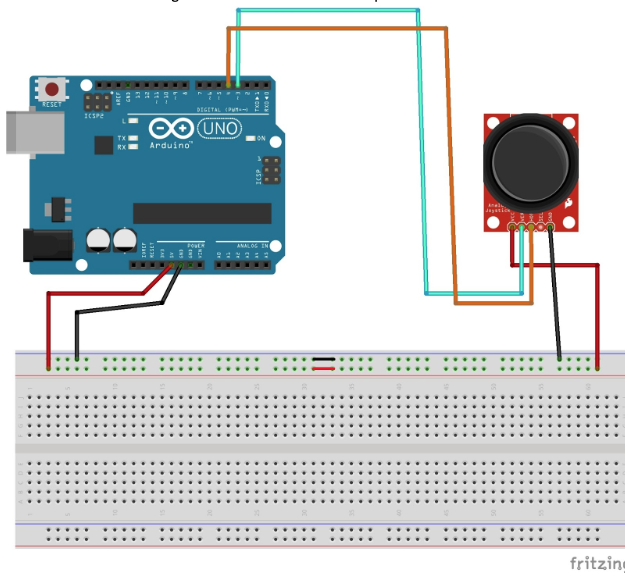
操纵杆模块的连接和Arduino Uno。
操纵杆Arduino
5V5V
GNDGND
U/DU/D模拟4
L/RL/R模拟3
最终布线如下:
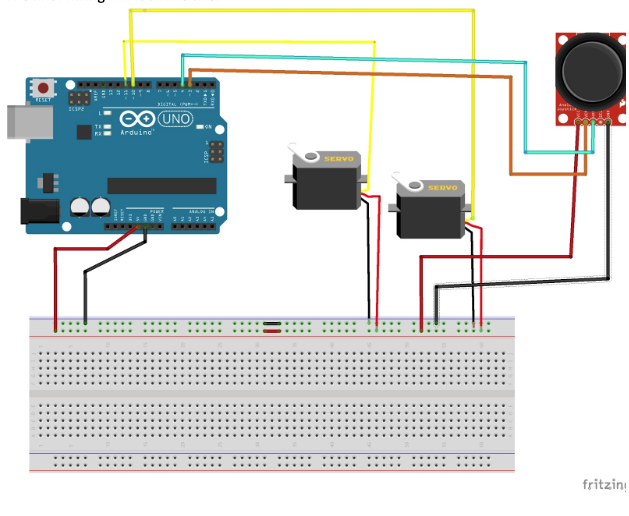
最终的项目原理图。
一切都连接后,它将如下所示!
源代码
将以下代码复制并粘贴到Arduino软件中。在将代码上传到Arduino板之前,请务必测试(编译)代码。
当您将代码上传到Arduino时,在您使用操纵杆之前,伺服器不应移动。
#include
const int servo1 = 11; // first servo
const int servo2 = 10; // second servo
const int joyH = 3; // L/R Parallax Thumbstick
const int joyV = 4; // U/D Parallax Thumbstick
int servoVal; // variable to read the value from the analog pin
Servo myservo1; // create servo object to control a servo
Servo myservo2; // create servo object to control a servo
void setup() {
// Servo
myservo1.attach(servo1); // attaches the servo
myservo2.attach(servo2); // attaches the servo
// Inizialize Serial
Serial.begin(9600);
}
void loop(){
// Display Joystick values using the serial monitor
outputJoystick();
// Read the horizontal joystick value (value between 0 and 1023)
servoVal = analogRead(joyH);
servoVal = map(servoVal, 0, 1023, 0, 180); // scale it to use it with the servo (result between 0 and 180)
myservo2.write(servoVal); // sets the servo position according to the scaled value
// Read the horizontal joystick value (value between 0 and 1023)
servoVal = analogRead(joyV);
servoVal = map(servoVal, 0, 1023, 70, 180); // scale it to use it with the servo (result between 70 and 180)
myservo1.write(servoVal); // sets the servo position according to the scaled value
delay(15); // waits for the servo to get there
}
/**
* Display joystick values
*/
void outputJoystick(){
Serial.print(analogRead(joyH));
Serial.print (“---”);
Serial.print(analogRead(joyV));
Serial.println (“----------------”);
}
-
云台
+关注
关注
1文章
68浏览量
13606 -
Arduino
+关注
关注
187文章
6456浏览量
186467 -
SG90
+关注
关注
0文章
9浏览量
11496
发布评论请先 登录
相关推荐
伺服电机原理及控制应用

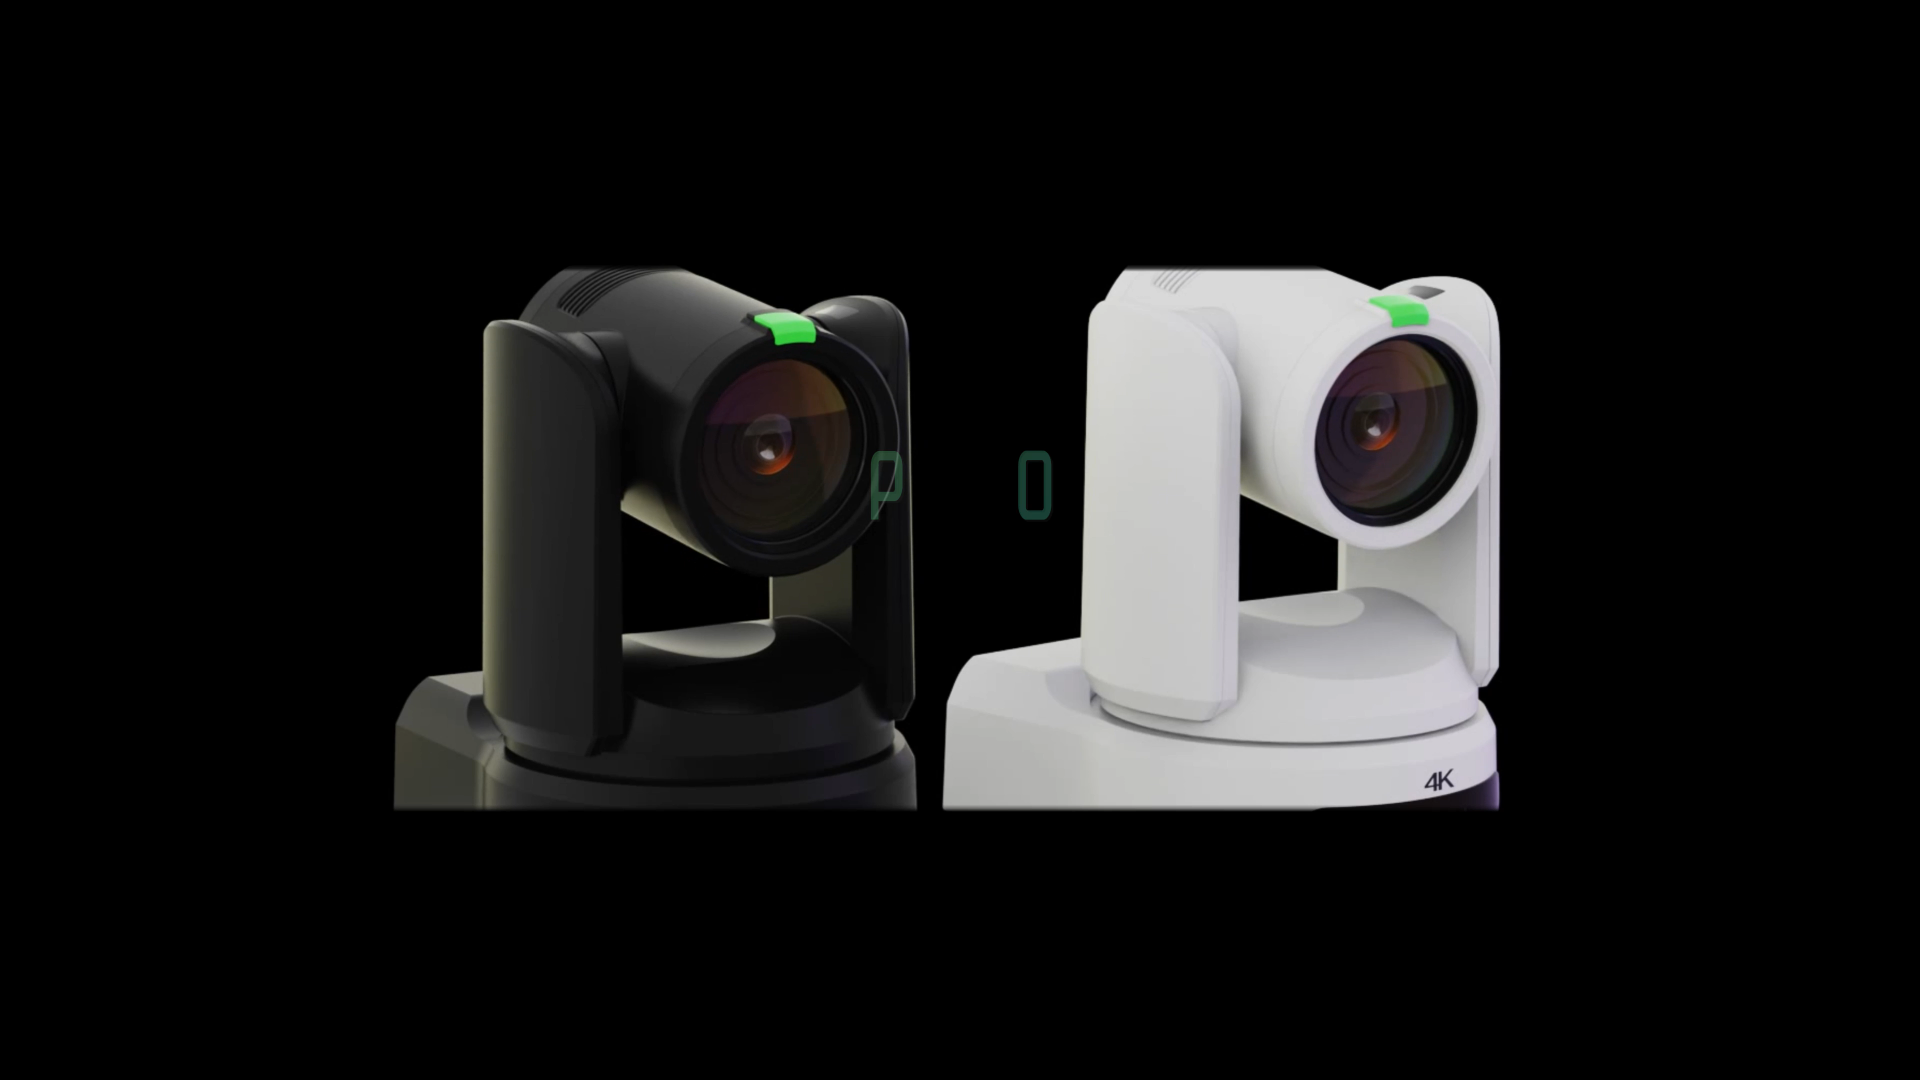
艾毕胜电子摄像机云台驱动板方案
探索伺服转台型云台驱动方案在云台摄像机中的神奇应用
科技之眼:云台摄像机机芯在无人机领域的应用与前景
防跌倒识别摄像机
esp32想用自带的LEDPWD来驱动sg90发现没有反应,为什么?
客流量监测识别摄像机

基坑监测识别摄像机

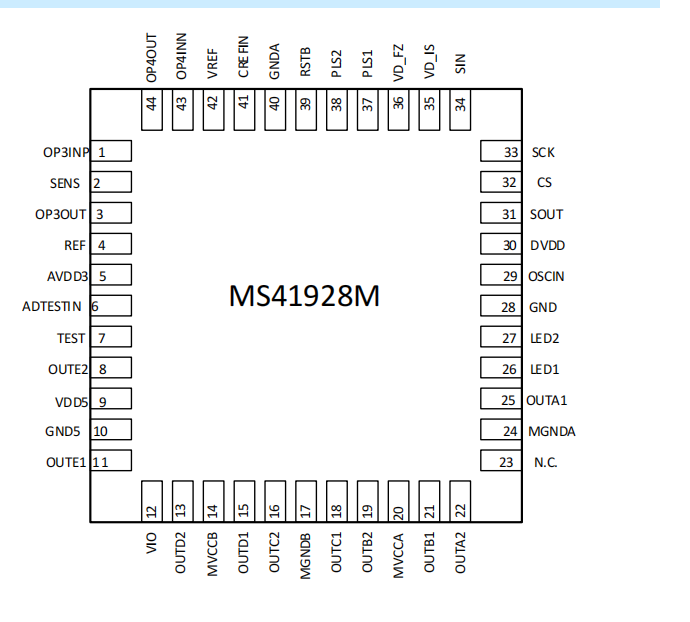
MS41928M网络摄像机·监控摄像机用镜头驱动芯片(内置光圈控制)
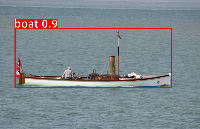
船只监测识别摄像机
为什么PoE分离器容易烧坏网络摄像机?


 工商网监
工商网监
评论