步骤1:组件
-Arduino Uno开发板* 1
-USB电缆* 1
-电阻(220Ω)* 1
-LED * 1
-滑动开关* 1
-面包板* 1
-跳线
步骤2:原理
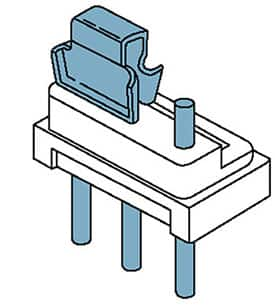
正如其名称所暗示的那样,滑动开关是通过以下方式连接或断开电路滑动其开关手柄以切换电路。滑动开关的常见类型包括单刀双掷,单刀三掷,双刀双掷和双刀三掷等。通常,它用于低电压电路,具有灵活性和稳定性。滑动开关通常用于各种仪器/仪表设备,电子玩具和其他相关领域。
工作原理:中间销固定。将手柄向左推时,左侧的两个插针已连接;
第3步:
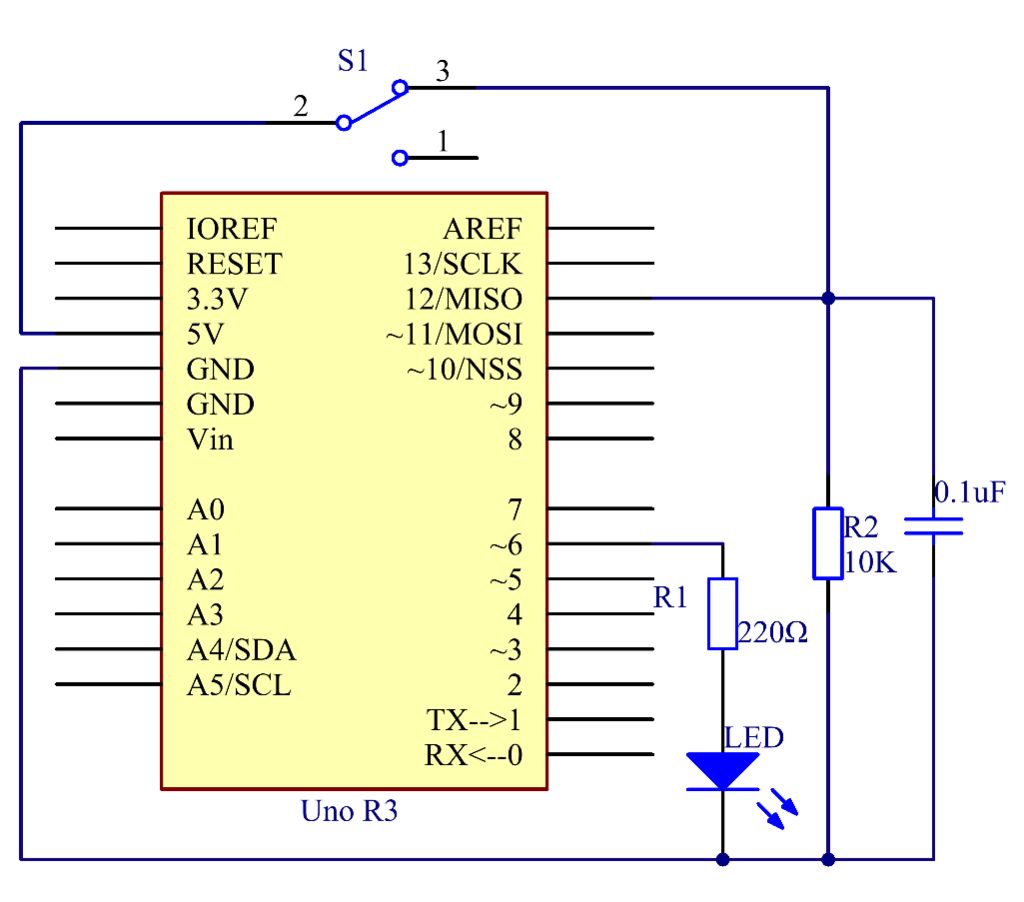
请参见滑动开关的电路符号,中间的pi是2。
步骤4:原理图
步骤5:过程
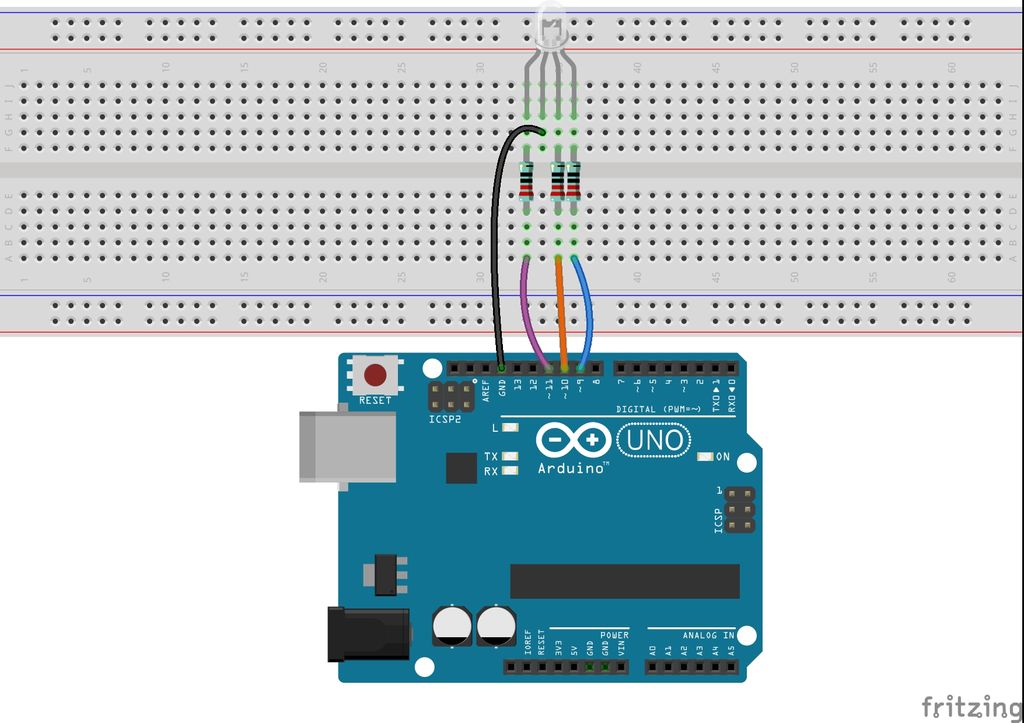
在这里,我们使用滑动开关来控制LED的开/关,这很简单。将开关的中间引脚连接到VCC。将一端的一个引脚连接到引脚12。在连接10K电阻器和104电容器之后,将其连接到GND(以使开关输出稳定的电平信号)。将LED连接到引脚6。将滑动开关的手柄推至与高电平的引脚12相连的引脚,我们可以通过编程来点亮引脚6上的LED。
步骤1:构建电路
第2步:从https://github.com/primerobotics/Arduino
下载代码。第3步:将草图上传到Arduino Uno板
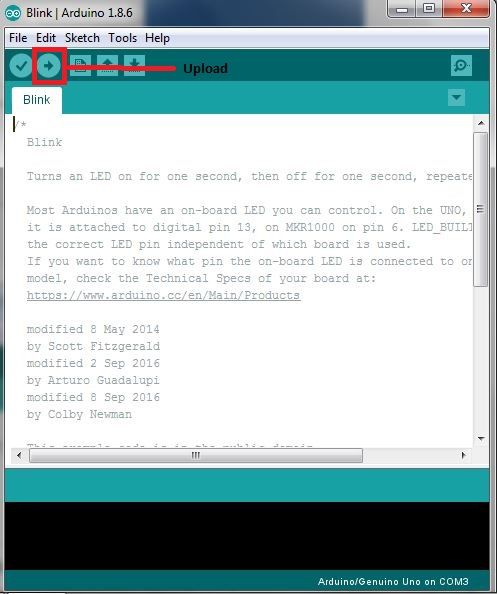
单击“上传”图标将代码上传到控制板。
如果窗口底部显示“完成上传”,则表示草图已成功上传。
将开关拨到pin4时,LED点亮
步骤6:代码
//Controlling
Led By slide switch
//Turns
on and off a LED ,when slide the switch
//Email:info@primerobotics.in
//Website:www.primerobotics.in
/**********************************/
const
int switchPin = 12; //the switch connect to pin 12
const
int ledPin = 6;//the led connect to pin 6
/**********************************/
int
switchState = 0; // variable for
reading the pushbutton status
void
setup()
{
pinMode(switchPin, INPUT); //initialize
thebuttonPin as input
pinMode(ledPin, OUTPUT); //initialize the led
pin as output
}
/**********************************/
void
loop()
{
//read the state of the switch value
switchState = digitalRead(switchPin);
if (switchState == HIGH ) //if it is,the
state is HIGH
{
digitalWrite(ledPin, HIGH); //turn the led on
}
else
{
digitalWrite(ledPin, LOW); //turn the led
off
}
}
/************************************/
步骤7:代码分析
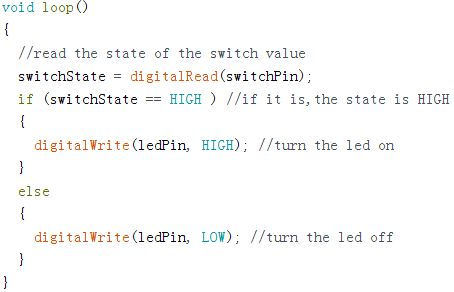
首先,读取switchPin的状态,并查看是否已移动开关手柄。如果已将其推到引脚12,则switchState为“高电平”,因此将ledPin设置为“高电平”,这意味着要点亮LED;否则,请使其发光。否则,请将其关闭。
-
led
+关注
关注
242文章
23439浏览量
664828 -
开关
+关注
关注
19文章
3163浏览量
94076 -
Arduino
+关注
关注
188文章
6478浏览量
188396
发布评论请先 登录
相关推荐


 如何使用滑动开关打开/关闭外部LED



评论