 鸿蒙推箱子小游戏:UI界面美化
在上文笔者向大家分享了推箱子小游戏基础功能的实现,本文将继续向大家介绍如何做 UI 界面美化,以及如何利用轻量级偏好数据库做数据的存储和读取。
UI 界面美化
①MainAbilitySlice
我们可以看到,所有的界面都是采用无框全屏化设计,因此第一步是要修改 config.json 文件。
打开文件,将代码做出如下修改:
......
"launchType":"standard"
}
],
"metaData":{
"customizeData":[
{
"name":"hwc-theme",
"value":"androidhwext:style/Theme.Emui.Light.NoTitleBar",
"extra":""
}
]
}
}
}
然后设计按钮样式,首先新建一个 graphic 文件:

接着在里面添加美化代码:
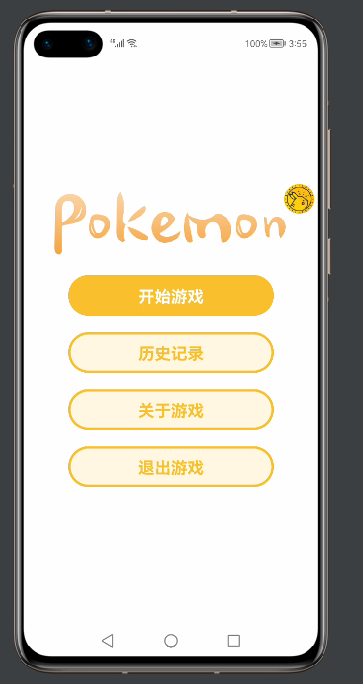
现在分析界面需求,其中带有“Pokemon”字样的是本地图片,因此我们需要的控件有四个按钮以及一张图片,布局采用 DirectionalLayout 即可。 代码如下:
至此第一个界面就美化完成了。
②SelectSlice
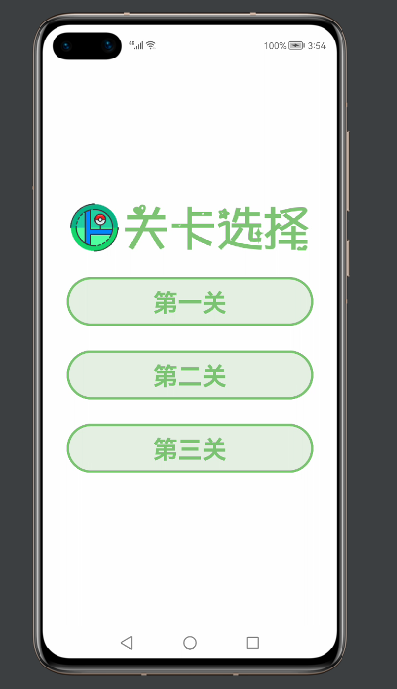
这个界面的布局跟第一个界面大同小异,只是少了一个按钮,还有就是按钮的样式有点不同,因此需要再写一个 graphic 文件,方法同上。
这里直接给出代码:
界面的代码如下:
③InitSlice
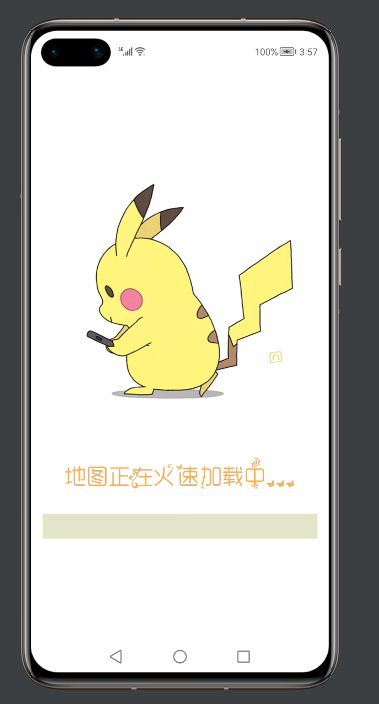
在加载界面中,只是用到了一个播放 gif 的第三方组件,以及一张图片(文字图片)一个进度条组件,布局也使用最常规的 DirectionalLayout 即可实现。
④GameSlice
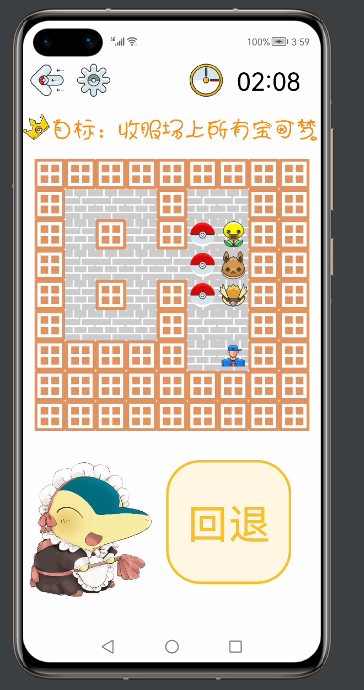
游戏界面的 UI 就稍微复杂一点,需要用到嵌套,之前说过,地图类继承自布局,所以实际上地图也是一个组件,理解了这一点之后,再来看代码会容易理解很多。 整体布局用了 DirectionalLayout 纵向布局,在里面有需要横向布局的,则添加 DirectionalLayout 的横向布局,做一个简单的嵌套。
四个界面美化完毕!接下来做一些细节的调整。在按下历史记录按钮时,会显示每个关卡最近的一次历史记录,效果如下:
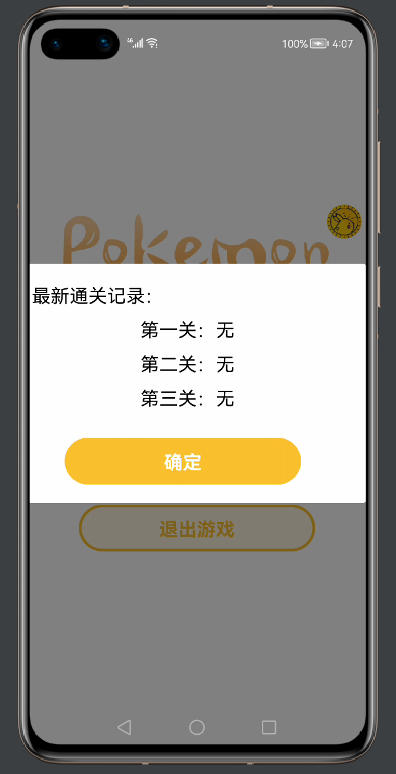
这实际上是一个自定义样式的 CommonDialog,如何自定义?首先创建一个自定义的 RecordDialog 类和美化用的 xml 文件,然后在类里面添加自己的 xml 文件。
具体方法可以看代码:
publicclassRecordDialog{
staticCommonDialogcommonDialog;

staticvoidshowDialog(Contextcontext,Strings1,Strings2,Strings3){
DirectionalLayoutdl=(DirectionalLayout)LayoutScatter.getInstance(context)
.parse(ResourceTable.Layout_recordlayout,null,false);
commonDialog=newCommonDialog(context);
commonDialog.setAutoClosable(true);

ButtonBtn=(Button)dl.findComponentById(ResourceTable.Id_Btn);

Textfirst=(Text)dl.findComponentById(ResourceTable.Id_firstText);
first.setText(s1);

Textsecond=(Text)dl.findComponentById(ResourceTable.Id_secondText);
second.setText(s2);

Textthird=(Text)dl.findComponentById(ResourceTable.Id_thirdText);
third.setText(s3);

Btn.setClickedListener(newComponent.ClickedListener(){
@Override
publicvoidonClick(Componentcomponent){
commonDialog.destroy();
}
});
commonDialog.setCornerRadius(15);
commonDialog.setContentCustomComponent(dl).show();
}
}
xml 文件如下:
关于这样的设计,这个小游戏中还有一处,点击关于游戏弹出的界面同样也是这么实现的:
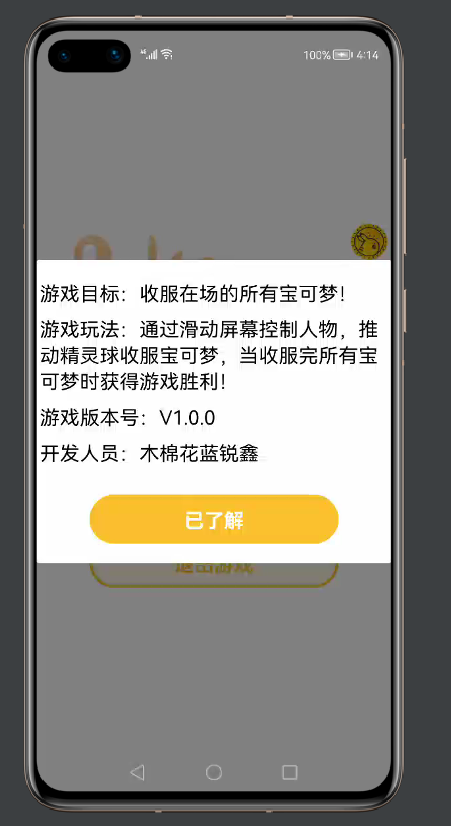
代码如下:
publicclassMyDialog{
privatestaticTextversion;
staticvoidshowDialog(Contextcontext){
DirectionalLayoutdl=(DirectionalLayout)LayoutScatter.getInstance(context)
.parse(ResourceTable.Layout_mydialoglayout,null,false);
CommonDialogcommonDialog=newCommonDialog(context);
commonDialog.setAutoClosable(true);

ButtonknowBtn=(Button)dl.findComponentById(ResourceTable.Id_knowBtn);


knowBtn.setClickedListener(newComponent.ClickedListener(){
@Override
publicvoidonClick(Componentcomponent){
commonDialog.destroy();
}
});


commonDialog.setCornerRadius(15);
commonDialog.setContentCustomComponent(dl).show();
}
staticStringgetVersion(){
returnversion.getText();
}
}
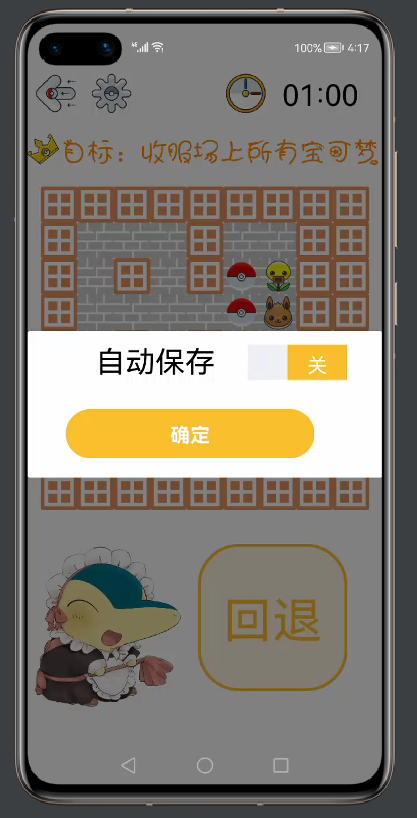
游戏中最后一处 UI 设计,就是点击设置按钮时出现的一个滑动块组件,可以保存一些全局设置:
publicclassSetDialog{
staticvoidshowDialog(Contextcontext){
DirectionalLayoutdl=(DirectionalLayout)LayoutScatter.getInstance(context)
.parse(ResourceTable.Layout_setlayout,null,false);
CommonDialogcommonDialog=newCommonDialog(context);
commonDialog.setAutoClosable(true);

ButtonsureBtn=(Button)dl.findComponentById(ResourceTable.Id_sureBtn);
Switchchoose=(Switch)dl.findComponentById(ResourceTable.Id_choose);

Stringvalue=MyDB.getString(dl.getContext(),"save");
if(value!=null){
if(value.compareTo("开")==0){
choose.setChecked(true);
}
elseif(value.compareTo("关")==0){
choose.setChecked(false);
}
}

choose.setCheckedStateChangedListener(newAbsButton.CheckedStateChangedListener(){
@Override
publicvoidonCheckedChanged(AbsButtonabsButton,booleanb){
Stringkey="save";
if(b){
MyDB.putString(dl.getContext(),key,"开");
}
else{
MyDB.putString(dl.getContext(),key,"关");
}
}
});


sureBtn.setClickedListener(newComponent.ClickedListener(){
@Override
publicvoidonClick(Componentcomponent){
commonDialog.destroy();
}
});

commonDialog.setCornerRadius(15);
commonDialog.setContentCustomComponent(dl).show();
}
}
至此,UI 美化部分已经全部完成。
数据存储
这里用到轻量级偏好数据库,关于数据库怎么使用,可以看这篇文章,文章写得很详细!
https://ost.51cto.com/posts/7911利用数据库存储每个关卡的信息,首先要新建一个数据库类 MyDB:
publicclassMyDB{
privatestaticfinalStringPREFERENCE_FILE_NAME="DB";
privatestaticPreferencespreferences;
privatestaticDatabaseHelperdatabaseHelper;
privatestaticPreferences.PreferencesObservermPreferencesObserver;

privatestaticvoidinitPreference(Contextcontext){
if(databaseHelper==null){
databaseHelper=newDatabaseHelper(context);
}
if(preferences==null){
preferences=databaseHelper.getPreferences(PREFERENCE_FILE_NAME);
}

}

publicstaticvoidputString(Contextcontext,Stringkey,Stringvalue){
initPreference(context);
preferences.putString(key,value);
preferences.flush();
}

publicstaticStringgetString(Contextcontext,Stringkey){
initPreference(context);
returnpreferences.getString(key,null);
}

publicstaticbooleandeletePreferences(Contextcontext){
initPreference(context);
booleanisDelete=databaseHelper.deletePreferences(PREFERENCE_FILE_NAME);
returnisDelete;
}

publicstaticvoidregisterObserver(Contextcontext,Preferences.PreferencesObserverpreferencesObserver){
initPreference(context);
mPreferencesObserver=preferencesObserver;
preferences.registerObserver(mPreferencesObserver);
}

publicstaticvoidunregisterObserver(){
if(mPreferencesObserver!=null){
//向preferences实例注销观察者
preferences.unregisterObserver(mPreferencesObserver);
}
}
}
在结束游戏时,如果打开了自动保存按钮,则进行存储:
if(gameMap.isWin()){
tickTimer.stop();
CommonDialogcommonDialog=newCommonDialog(getContext());
commonDialog.setSize(800,400);
commonDialog.setTitleText("注意");
commonDialog.setContentText("恭喜您完成游戏!!!");
commonDialog.setButton(0,"确定",newIDialog.ClickedListener(){
@Override
publicvoidonClick(IDialogiDialog,inti){
commonDialog.destroy();
Stringvalue=MyDB.getString(getContext(),"save");
if(value!=null){
if(value.compareTo("开")==0){
MyDB.putString(getContext(),key,tickTimer.getText());
}
}
present(newSelectSlice(),newIntent());
terminate();
}
});
commonDialog.show();


}
在点击历史记录时,会进行数据读取:
//历史记录按钮
recordBtn.setClickedListener(newComponent.ClickedListener(){
@Override
publicvoidonClick(Componentcomponent){
String[]s={"第一关:无","第二关:无","第三关:无"};
Stringfirst=MyDB.getString(getContext(),"first");
Stringsecond=MyDB.getString(getContext(),"second");
Stringthird=MyDB.getString(getContext(),"third");

if(first==null){
first=s[0];
}
else{
first="第一关:"+first;
}
if(second==null){
second=s[1];
}
else{
second="第二关:"+second;
}
if(third==null){
third=s[2];
}
else{
third="第三关:"+third;
}

RecordDialog.showDialog(getContext(),first,second,third);
}
});
开启自动保存,才会在游戏结束时存进数据库,实际上也是利用数据库中某个 key 中的 value 控制。 具体实现如下:
choose.setCheckedStateChangedListener(newAbsButton.CheckedStateChangedListener(){
@Override
publicvoidonCheckedChanged(AbsButtonabsButton,booleanb){
Stringkey="save";
if(b){
MyDB.putString(dl.getContext(),key,"开");
}
else{
MyDB.putString(dl.getContext(),key,"关");
}
}
});
至此,项目已经全部分享完成,由于作品中涉及大量的图片资源均是网络资源(避免侵权),故仅作学习交流使用,实际上,绝大部分代码已经在文章中了,剩下的就是读者理解之后动手衔接起来!一定要动手!
后续作者也会开发更多的小游戏供大家学习交流~(下期可能就是 ArkUI 的小游戏啦!)期待与大家一起进步!!!
审核编辑:汤梓红
声明:本文内容及配图由入驻作者撰写或者入驻合作网站授权转载。文章观点仅代表作者本人,不代表电子发烧友网立场。文章及其配图仅供工程师学习之用,如有内容侵权或者其他违规问题,请联系本站处理。
举报投诉
-
游戏
+关注
关注
2文章
750浏览量
26362 -
ui界面
+关注
关注
0文章
11浏览量
1584 -
鸿蒙
+关注
关注
57文章
2392浏览量
43033 -
OpenHarmony
+关注
关注
25文章
3744浏览量
16548
原文标题:鸿蒙推箱子小游戏:UI界面美化
文章出处:【微信号:gh_834c4b3d87fe,微信公众号:OpenHarmony技术社区】欢迎添加关注!文章转载请注明出处。
发布评论请先 登录
相关推荐
单片机推箱子游戏程序模拟仿真
单片机推箱子游戏程序模拟仿真本程序仿真了ks0108驱动芯片的12864液晶屏,独立的5个按键,程序的主要部分是推箱子的部分的逻辑。增加计时
发表于 11-06 20:41
LabView资料分享:推箱子游戏
`附件为LabView编写的推箱子游戏,源码来自网络,分享给大家,仅供学习用途,不得用于商业用途。如涉及侵权,请联系删除谢谢。另外:对物联网感兴趣的童鞋,可以关注公众号"玩转IoT物联网",回复“Labvie
发表于 06-14 16:25
基于labview开发的10个小游戏(贪吃蛇、俄罗斯方块、五子棋、象棋、2048、推箱子等)
1.倒水游戏2.过河游戏3.计算器4.俄罗斯方块5.贪吃蛇6.五子棋7.象棋8.拼图游戏9.204810.推箱子
发表于 09-15 08:52
基于C语言设计编写的ARM推箱子
ARM推箱子的原型是基于C语言设计编写的推箱子小游戏,通过使用LCD、键盘、看门狗定时器、LED数码管、GPIO、触摸中断等ARM实验模块,
发表于 12-14 08:09
基于单片机的推箱子游戏仿真结果
本软件是电子工程师DIY:基于单片机的推箱子游戏的仿真结果。主要是采用STC89C54单片机,使用LCD12864 (0108)无字库液晶屏来完成的。
发表于 07-09 09:38
•337次下载

单片机:推箱子游戏HEX文件
本文是电子工程师DIY:基于单片机的推箱子游戏的HEX文件。该游戏主要是采用STC89C54单片机,使用LCD12864 (0108)无字库液晶屏来完成的。
发表于 07-09 09:43
•249次下载
语音识别的推箱子游戏设计
Matlab,是国际上使用最为广泛的科学与工程计算软件工具。其具有强大、丰富的内置函数和工具箱。在简要介绍推箱子游戏核心算法的基础上,给出一种基于Matlab CJUI的能进行实时语音识别的推
发表于 11-13 11:10
•13次下载
基于JAVA UI开发的“推箱子”小游戏
实际上,笔者在进行开发的过程中,并不是写完一个界面的内部逻辑,就开始对界面进行美化,而是先让所有的东西可以正常地跑起来,再谈美化。


 工商网监
工商网监
评论