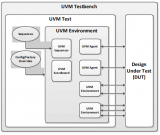
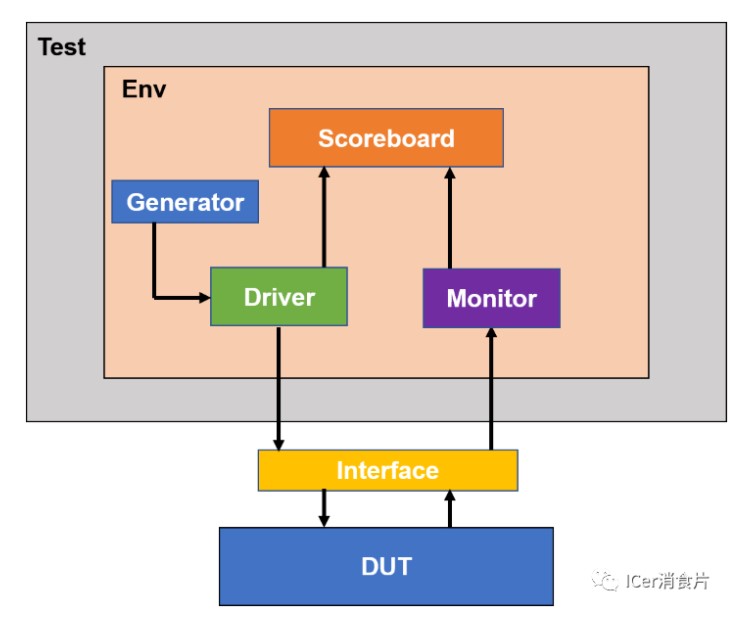
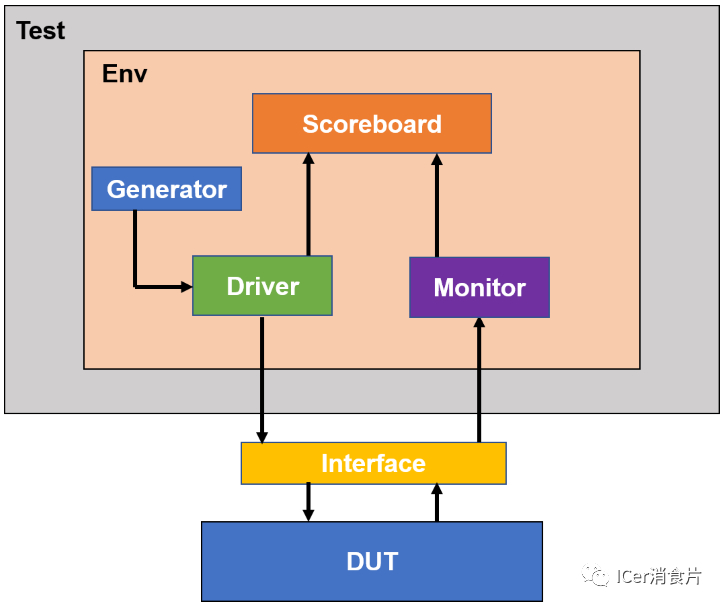
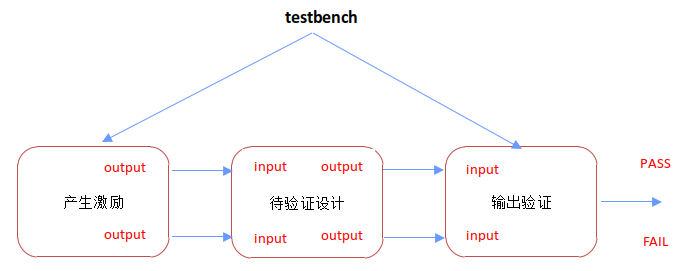
我们知道,不论是哪一级的验证,最终都是通过 pin 连接到 DUT 上向其施加激励,对于 UVM 验证平台中,使用虚接口来实现 DUT 和验证平台的通信。
为了简化模块之间的连接和实现类和模块之间的通信,以实现测试平台的可重用性, SV 定义了接口的语法结构。总体来说,接口就是在 testbench 这边定义了访问的 DUT 的管脚的集合,通过对接口中管脚信号的操作,来实现对 DUT 的管脚的操作, 这样能够实现验证平台和待测模块的分离。
验证工程师和设计工程师只要定义好接口关系,就可以分别开展工作。 同时如果设计管脚发生变化,无需改变 testbench 这边的虚接口,只需要在例化待测模块时,给接口绑定对应的待测接口即可。
Testbench 和 DUT 是通过接口进行数据交互的。接口仅仅是信号的一个集合,因此我们可以将 X_MAC 的所有信号定义为一个统一的接口,也可以将一个信号定义一个接口,这样对于 X_MAC 模块,就会有许许多多的接口。另外要注意的是,一个接口要对应一个 driver,因此,接口过多的话,就需要定义很多个 driver。
同样的,如果接口数量过少的话,就只需要定义较少的 driver。接口数量过多或过少,都不利于后期验证工作的开展。为了方面后续的工作,接口的个数合适为宜,总的原则是:
**1. 将相互关系紧密的信号放到同一个接口中。
****2. 要将同一个时钟周期的信号放到同一个接口中。
****3. 将和同一个模块连接的信号要放到同一个接口中。
**上面的三点基本上表达的是同一个意思, 这样有利于后期方便激励。
在接口的定义中需要注意的一个问题是:对于同一个信号,其方向(input/output)对于 DUT 和对于 testbench 来说是相反的, 在接口中需要定义信号的方向是针对 testbench 的方向, 这一点需要注意。
下面是一个接口示例。
interface hello_if(input logic rxc,input logic txc);
logic [7:0] rxd_1;
logic [7:0] rxd_2;
logic rx_dv;
logic [7:0] txd;
logic tx_en;
//from model to DUT
clocking drv_cb @(posedge rxc);
output #1 rxd_1,rxd_2,rx_dv;
endclocking
clocking mon_cb @(posedge txc);
input #1 txd,tx_en;
endclocking
endinterface
首先,我们需要在 tb_top 模块中例化接口和待测 DUT,在例化 DUT 的时候,将 DUT 的接口和接口中定义的管脚绑定即可。如下图所示:
module hello_tb_top;
import uvm_pkg::*;
import hello_pkg::*;
reg clk;
hello_if my_hello_if(clk,clk);//实例化接口
dut my_dut(.clk(clk),
.rxd_1(my_hello_if.rxd_1),
.rxd_2(my_hello_if.rxd_2),
.rx_dv(my_hello_if.rx_dv),
.txd(my_hello_if.txd),
.tx_en(my_hello_if.tx_en)
);//实例化 DUT,并将 DUT 的输入输出端口和 my_hello_if 连接在一起


initial begin//产生 DUT 需要的时钟
  clk = 0;
  forever begin
    #10;clk = ~clk;
  end
end
//assign physical interface to virtual interface
initial begin//通过 config_db 的 set 方式将 my_if 通知 driver 和 monitor
//从而 Driver 和 monitor 可以直接和 DUT 通信。
uvm_config_db#(virtual hello_if)::set(null,"uvm_test_top.env.input_agt.drv","hello_if",my_hello_if);
uvm_config_db#(virtual hello_if)::set(null,"uvm_test_top.env.output_agt.mon","hello_if",my_hello_if);
run_test();//启动 UVM
end
endmodule
在例化 dut 时,我们将 dut 的管脚和虚接口的管脚绑定在一起。这样,我们在 testbench 中对虚接口进行操作,也就对 DUT 的管脚进行了操作。在 testbench 中只有 driver 和 monitor 会对 DUT 进行激励的加载和监听,那么在 driver 和 monitor 那里如何访问到这里的接口?
首先我们看到上面的代码中有如下的语句
uvm_config_db#(virtual hello_if)::set(null,"uvm_test_top.env.input_agt.drv","hello_if",my_hello_if);
uvm_config_db#(virtual hello_if)::set(null,"uvm_test_top.env.output_agt.mon","hello_if",my_hello_if);
我们在 uvm_top 模块中,通过 uvm_config_db 的 set 语句将定义在 driver 中的虚接口和 uvm_top 模块中的接口连接起来。在 driver 中首先需要定义一个虚接口:
virtual hello_if vif;
这里的虚接口的意思是,这个接口在 driver 这里是不存在的,这里只是一个句柄,通过虚接口, testbench 能访问到 uvm_top 中定义的实体接口,从而访问到DUT。随后在 driver 中通过 uvm_config_db 的 get 操作将 driver 中的虚接口和uvm_top 中的实体接口连接起来。
if(!uvm_config_db#(virtual hello_if)::get(this,"","hello_if", vif))
`uvm_fatal("hello_driver","Error in Geting interface");
这样, driver 通过虚接口实现了对 DUT 的操作。
-
UVM
+关注
关注
0文章
182浏览量
19240 -
PIN
+关注
关注
1文章
305浏览量
24499 -
DUT
+关注
关注
0文章
190浏览量
12518
发布评论请先 登录
相关推荐
第一次写Testbench文件,不知道哪里错了,请大侠指点。
testbench设置的问题
请问怎么测量DUT的S参数?
LFSR testbench V1.2
Writing Testbench

testbench怎么写_testbench经典教程VHDL

简单的Testbench设计
典型的UVM Testbench架构

编写高效Testbench的指南和示例


 DUT 和 testbench 连接教程


评论