 米尔瑞萨RZ/G2L开发板 安装交叉编译器
安装SDK
下载sdk并上传到虚拟机,解压后执行:
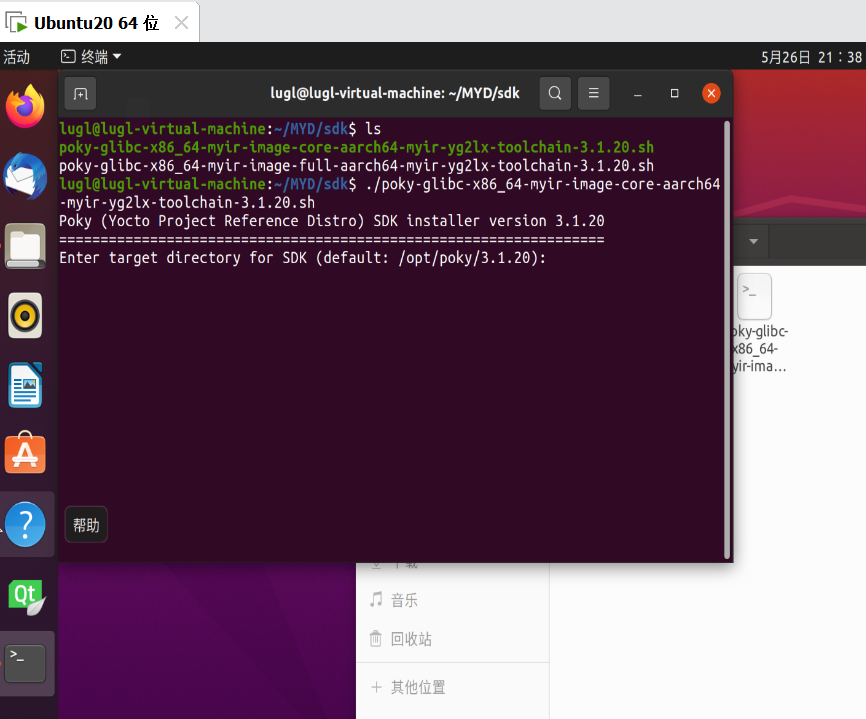
在这对话框中输入想要保存的目录:

在下面的对话框中输入Y:

然后稍等安装完毕:
Extracting SDK.......................................................................................................................................................................................................done
Setting it up...done
SDK has been successfully set up and is ready to be used.
Each time you wish to use the SDK in a new shell session, you need to source the environment setup script e.g.
$ . /opt/yg2lx/environment-setup-aarch64-poky-linux
$ . /opt/yg2lx/environment-setup-armv7vet2hf-neon-vfpv4-pokymllib32-linux-gnueabi
测试SDK
安装完成后,使用以下命令设置环境变量,测试 SDK 是否完成:
lugl@lugl-virtual-machine:~/MYD/sdk$ source /opt/yg2lx/environment-setup-aarch64-poky-linux
lugl@lugl-virtual-machine:~/MYD/sdk$ $CC -v
Using built-in specs.
COLLECT_GCC=aarch64-poky-linux-gcc
COLLECT_LTO_WRAPPER=/opt/yg2lx/sysroots/x86_64-pokysdk-linux/usr/libexec/aarch64-poky-linux/gcc/aarch64-poky-linux/8.3.0/lto-wrapper
Target: aarch64-poky-linux
Configured with: ../../../../../../work-shared/gcc-8.3.0-r0/gcc-8-8.3.0/src/configure --build=x86_64-linux --host=x86_64-pokysdk-linux --target=aarch64-poky-linux --prefix=/usr/local/oe-sdk-hardcoded-buildpath/sysroots/x86_64-pokysdk-linux/usr --exec_prefix=/usr/local/oe-sdk-hardcoded-buildpath/sysroots/x86_64-pokysdk-linux/usr --bindir=/usr/local/oe-sdk-hardcoded-buildpath/sysroots/x86_64-pokysdk-linux/usr/bin/aarch64-poky-linux --sbindir=/usr/local/oe-sdk-hardcoded-buildpath/sysroots/x86_64-pokysdk-linux/usr/bin/aarch64-poky-linux --libexecdir=/usr/local/oe-sdk-hardcoded-buildpath/sysroots/x86_64-pokysdk-linux/usr/libexec/aarch64-poky-linux --datadir=/usr/local/oe-sdk-hardcoded-buildpath/sysroots/x86_64-pokysdk-linux/usr/share --sysconfdir=/usr/local/oe-sdk-hardcoded-buildpath/sysroots/x86_64-pokysdk-linux/etc --sharedstatedir=/usr/local/oe-sdk-hardcoded-buildpath/sysroots/x86_64-pokysdk-linux/com --localstatedir=/usr/local/oe-sdk-hardcoded-buildpath/sysroots/x86_64-pokysdk-linux/var --libdir=/usr/local/oe-sdk-hardcoded-buildpath/sysroots/x86_64-pokysdk-linux/usr/lib/aarch64-poky-linux --includedir=/usr/local/oe-sdk-hardcoded-buildpath/sysroots/x86_64-pokysdk-linux/usr/include --oldincludedir=/usr/local/oe-sdk-hardcoded-buildpath/sysroots/x86_64-pokysdk-linux/usr/include --infodir=/usr/local/oe-sdk-hardcoded-buildpath/sysroots/x86_64-pokysdk-linux/usr/share/info --mandir=/usr/local/oe-sdk-hardcoded-buildpath/sysroots/x86_64-pokysdk-linux/usr/share/man --disable-silent-rules --disable-dependency-tracking --with-libtool-sysroot=/home/hjx/renesas/new2-yocto/build-myir/tmp/work/x86_64-nativesdk-pokysdk-linux/gcc-cross-canadian-aarch64/8.3.0-r0/recipe-sysroot --with-gnu-ld --enable-shared --enable-languages=c,c++ --enable-threads=posix --enable-multilib --enable-default-pie --enable-c99 --enable-long-long --enable-symvers=gnu --enable-libstdcxx-pch --program-prefix=aarch64-poky-linux- --without-local-prefix --disable-install-libiberty --enable-lto --disable-libssp --enable-libitm --disable-bootstrap --disable-libmudflap --with-system-zlib --with-linker-hash-style=gnu --enable-linker-build-id --with-ppl=no --with-cloog=no --enable-checking=release --enable-cheaders=c_global --without-isl --with-gxx-include-dir=/not/exist/usr/include/c++/8.3.0 --with-build-time-tools=/home/hjx/renesas/new2-yocto/build-myir/tmp/work/x86_64-nativesdk-pokysdk-linux/gcc-cross-canadian-aarch64/8.3.0-r0/recipe-sysroot-native/usr/aarch64-poky-linux/bin --with-sysroot=/not/exist --with-build-sysroot=/home/hjx/renesas/new2-yocto/build-myir/tmp/work/x86_64-nativesdk-pokysdk-linux/gcc-cross-canadian-aarch64/8.3.0-r0/recipe-sysroot --enable-poison-system-directories --disable-static --enable-nls --with-glibc-version=2.28 --enable-initfini-array --enable-__cxa_atexit
Thread model: posix
gcc version 8.3.0 (GCC)
到此,SDK就安装成功了。
测试
用vim编写一个hello.c:
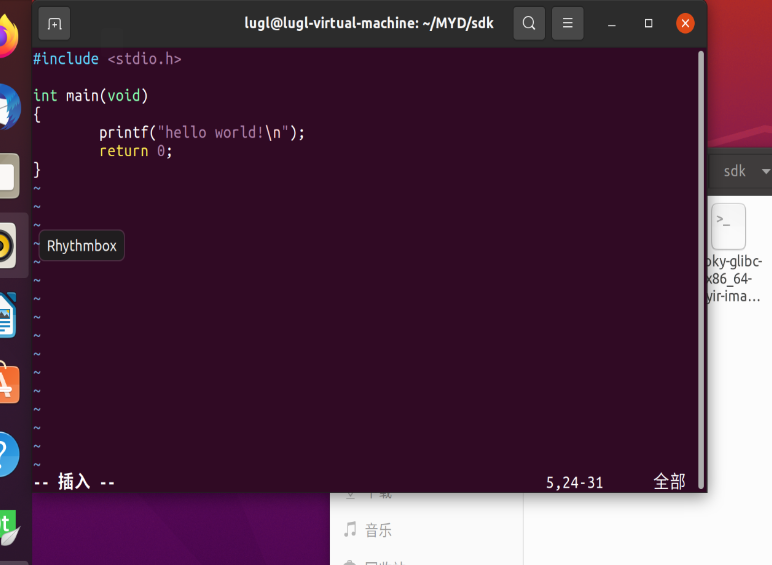
保存后编译:$CC hello.c -o hello
编译后查看hello文件类型:
lugl@lugl-virtual-machine:~/MYD/sdk$ file hello
hello: ELF 64-bit LSB shared object, ARM aarch64, version 1 (SYSV), dynamically linked, interpreter /lib64/ld-linux-aarch64.so.1, for GNU/Linux 3.14.0, BuildID[sha1]=5aa9a4ba2a1ff9ca3ef36c5d5508eb448b8f85f1, with debug_info, not stripped
上传到开发板,修改权限后执行:

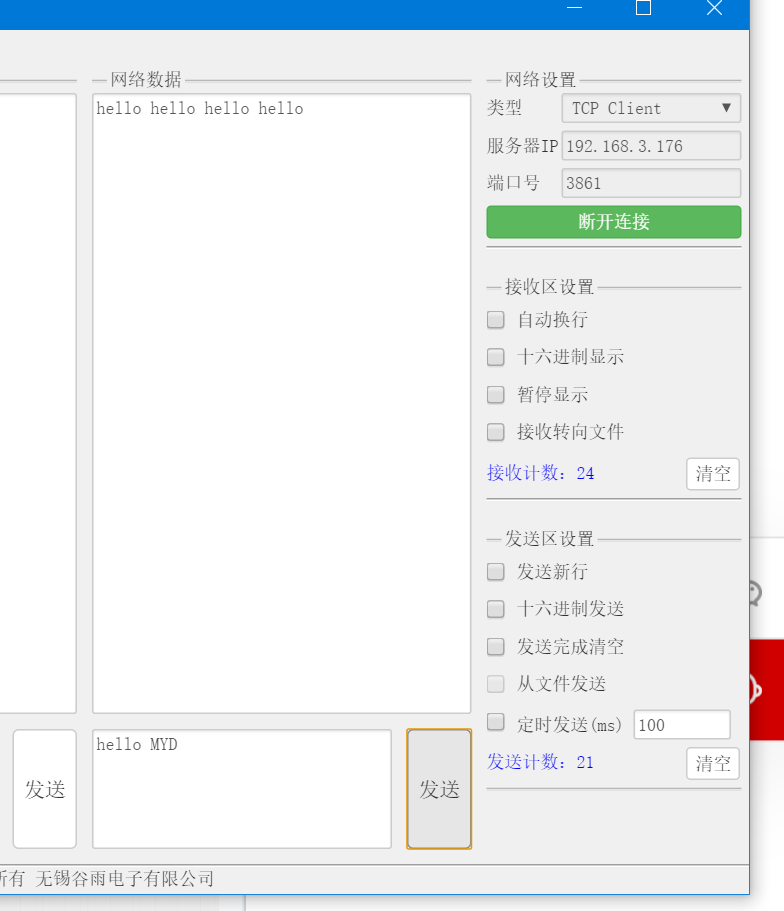
成功的输出了hello world,说明SDK安装成功!
声明:本文内容及配图由入驻作者撰写或者入驻合作网站授权转载。文章观点仅代表作者本人,不代表电子发烧友网立场。文章及其配图仅供工程师学习之用,如有内容侵权或者其他违规问题,请联系本站处理。
举报投诉
发布评论请先 登录
相关推荐
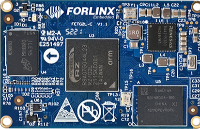
【米尔瑞萨RZ/G2L开发板-试用体验】米尔-瑞萨RZG2L - 64位双核MPU开发板开箱测评
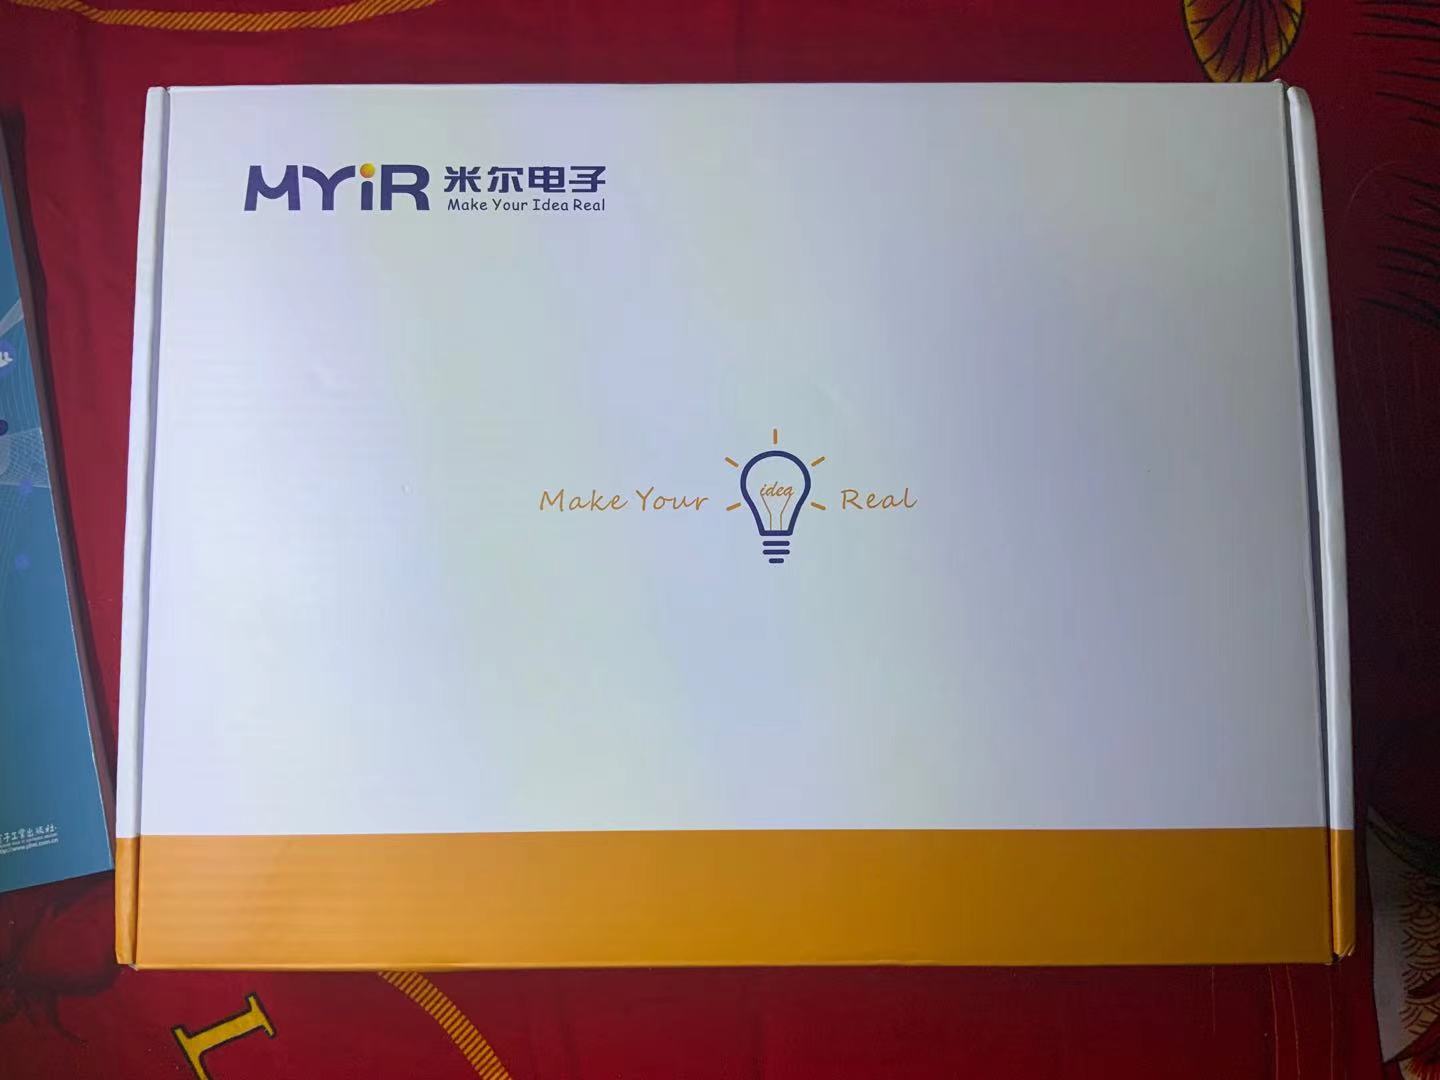
刚收到米尔瑞萨RZ/G2L开发板打开包装后看到的很大的一块黑色PCB,做工精美的
发表于 05-22 21:53
【米尔瑞萨RZ/G2L开发板-试用体验】米尔瑞萨RZ/G2L开发板开箱视频
今天刚刚收到米尔瑞萨RZ/G2L开发板,拆开包裹后给人的感觉是惊艳,板卡设计真的很棒,来看看视频
发表于 05-22 21:58
【米尔瑞萨RZ/G2L开发板-试用体验】米尔瑞萨RZ/G2L开发板使用SSH登录
收到的米尔瑞萨RZ/G2L开发板上电测试一下SSH登录方式和其它测试!
SSH登录
在使用
发表于 06-11 21:47
150套开发板免费送!还有5G手机拿?米尔RZ/G2L开发板创意秀
人间最美五月天不负韶华不负卿米尔又来送板子了不是3套,也不是4套150套米尔RZ/G2L开发板送!免费!板卡不回收!01这是什么样的有奖活动


 工商网监
工商网监
评论