 EtherCAT运动控制卡的硬件接线与C#的单轴运动控制
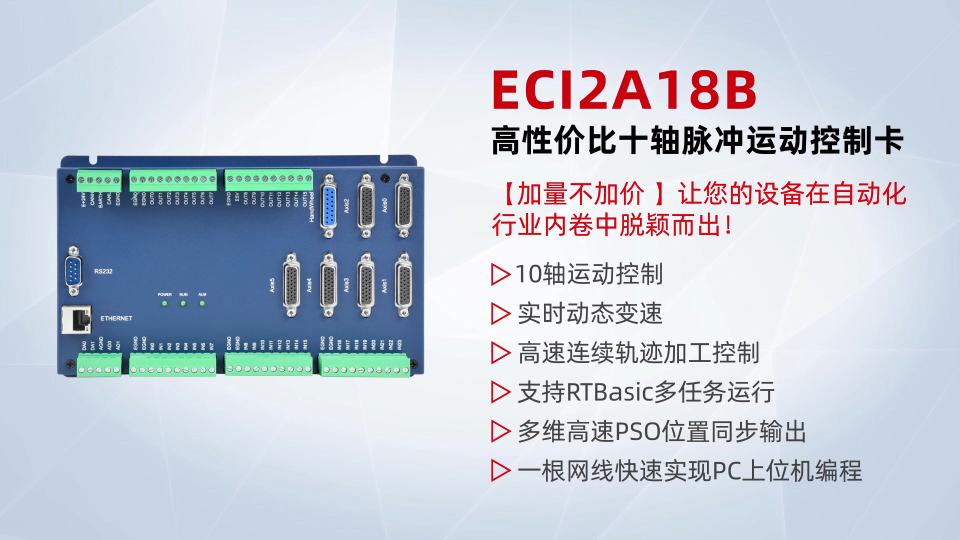
今天,正运动技术为大家分享一下《EtherCAT运动控制卡的硬件接线与C#的单轴运动控制》。在正式学习之前,我们先了解一下正运动技术的运动控制卡ECI2618和ECI2828。这两款产品分别是6轴,8轴运动控制卡。
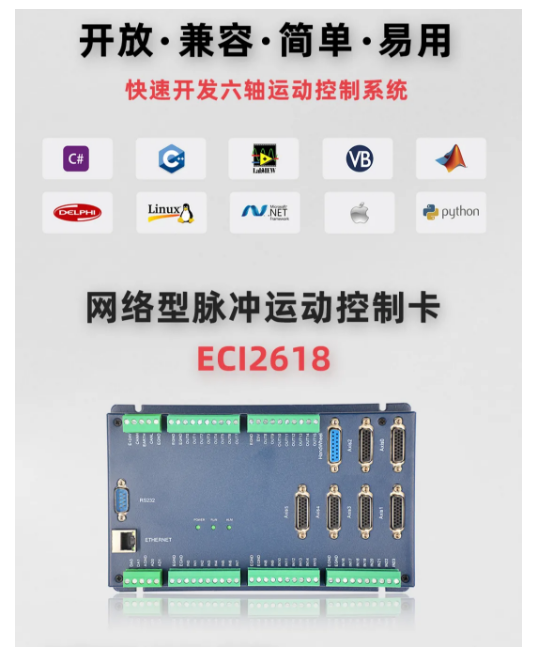
ECI2618支持6轴脉冲输入与编码器反馈,板载24点输入,16点输出,2AD,2DA,支持手轮接口,其中特定输出口支持高速PWM控制。
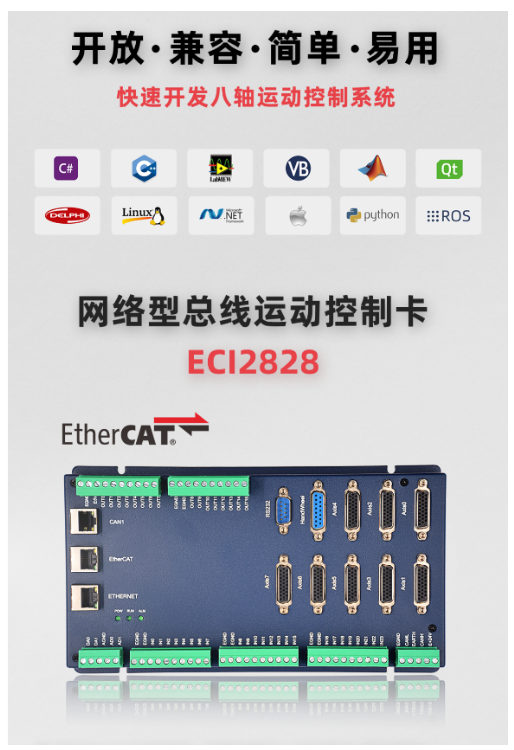
ECI2828支持8轴总线型输入与编码器反馈,板载24点输入,16点输出,2路AD,2路DA,支持手轮接口,其中特定输出口支持高速PWM控制。
ECI2618,ECI2828均使用同一套API函数,均支持C、C++、C#、LabVIEW、Python、Delphi等开发语言,支持VC6.0、VB6.0、Qt、.Net等平台,支持Windows、Linux、WinCE、iMac等操作系统。
接下来,进入正题。本节主要讲EtherCAT运动控制卡之ECI2820的硬件接线和如何使用C#进行单轴的运动控制。
一、 ECI2828运动控制卡硬件介绍
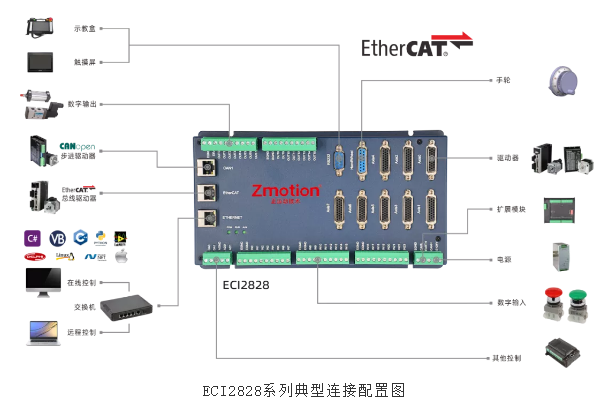
ECI2828系列运动控制卡支持多达 16 轴直线插补、任意圆弧插补、空间圆弧、螺旋插补、电子凸轮、电子齿轮、同步跟随、虚拟轴、机械手指令等;采用优化的网络通讯协议可以实现实时的运动控制。
ECI2828系列运动运动控制卡支持以太网,232 通讯接口和电脑相连,接收电脑的指令运行,可以通过EtherCAT总线和CAN总线去连接各个扩展模块,从而扩展输入输出点数或运动轴。
ECI2828系列运动控制卡的应用程序可以使用 VC,VB,VS,C++,C#等软件来开发,程序运行时需要动态库 zmotion.dll。调试时可以把ZDevelop软件同时连接到控制器,从而方便调试、方便观察。
二、 C#语言进行运动控制开发
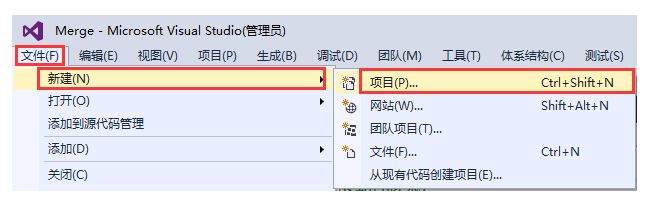
1.新建MFC项目并添加函数库
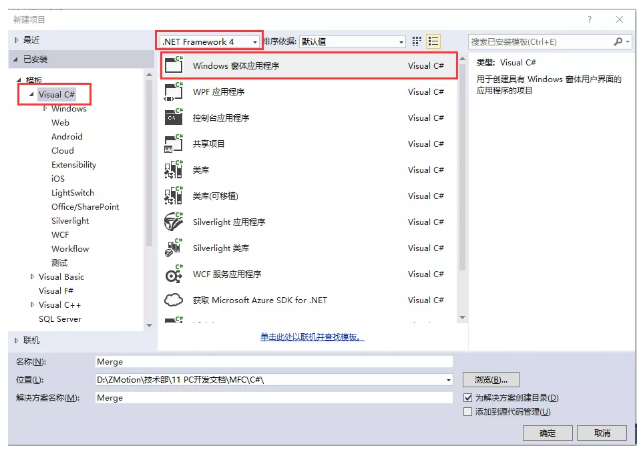
(1)在VS2015菜单“文件”→“新建”→ “项目” ,启动创建项目向导。
(2)选择开发语言为“Visual C#”和.NET Framework 4以及Windows 窗体应用程序。
(3)找到厂家提供的光盘资料里面的C#函数库,路径如下(64位库为例):
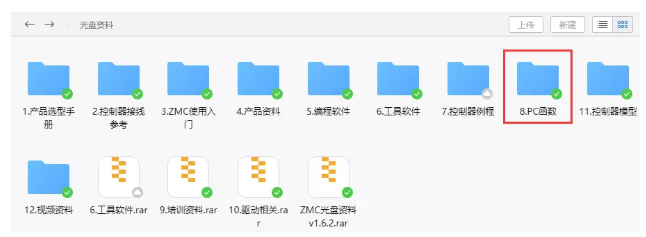
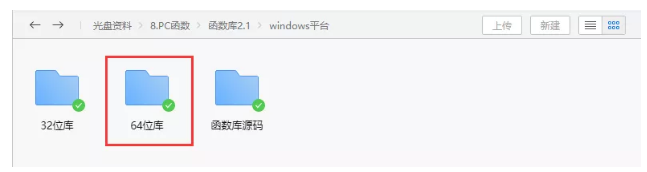
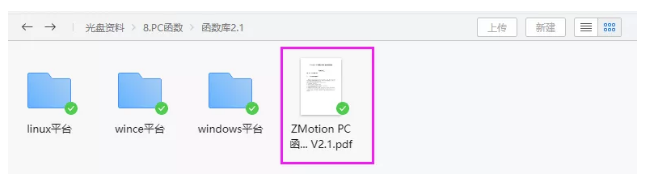
A、进入厂商提供的光盘资料找到“8.PC函数”文件夹,并点击进入。
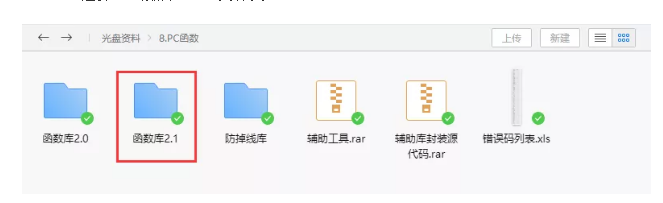
B、选择“函数库2.1”文件夹。
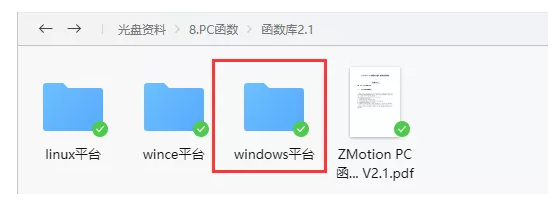
C、选择“Windows平台”文件夹。
D、根据需要选择对应的函数库这里选择64位库。
E、解压C#的压缩包,里面有C#对应的函数库。

F、函数库具体路径如下。
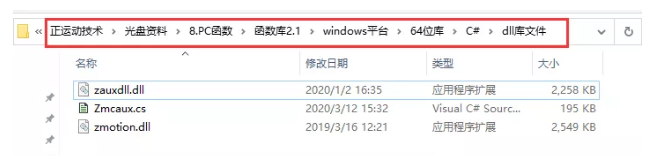
(4)将厂商提供的C#的库文件以及相关文件复制到新建的项目中。
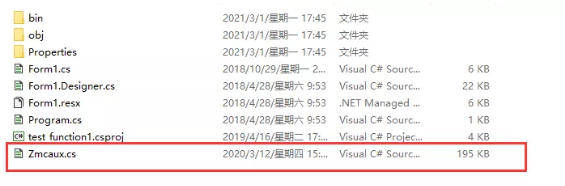
A、将zmcaux.cs文件复制到新建的项目里面中。
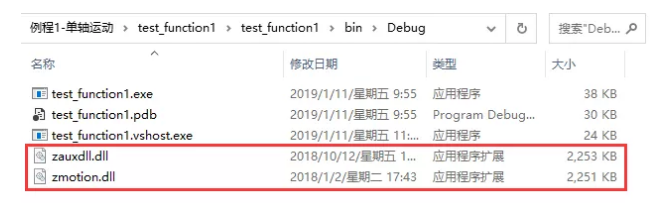
B、将zaux.dll和zmotion.dll文件放入bin\debug文件夹中。
(5)用vs打开新建的项目文件,在右边的解决方案资源管理器中点击显示所有,然后鼠标右键点击zmcaux.cs文件,点击包括在项目中。
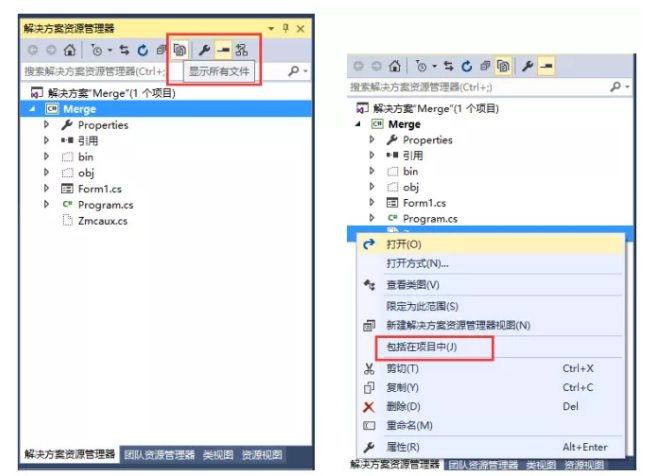
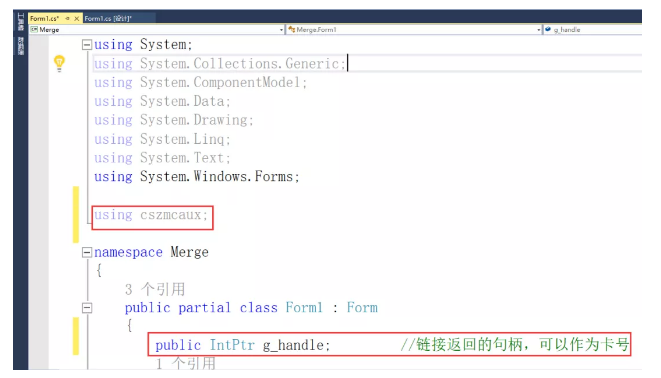
(6)双击Form1.cs里面的Form1,出现代码编辑界面,在文件开头写入 using cszmcaux,并声明控制器句柄g_handle。
至此项目新建完成,可进行C#项目开发。
2.查看PC函数手册
A、PC函数手册也在光盘资料里面,具体路径如下:“光盘资料\8.PC函数\函数库2.1\ZMotion函数库编程手册 V2.1.pdf”。
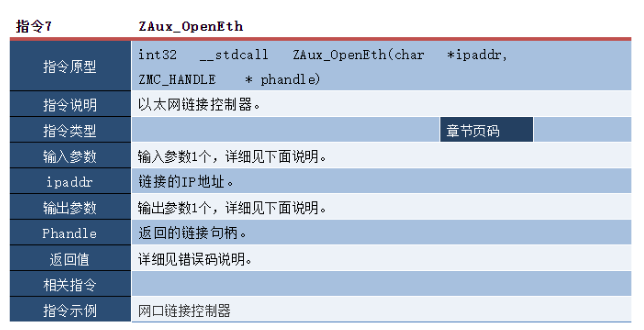
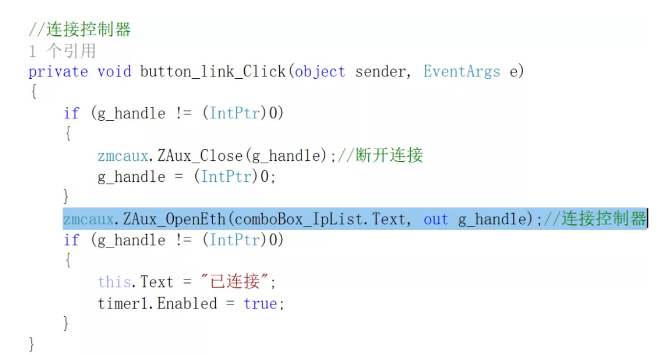
B、PC编程,一般如果网口对控制器和工控机进行链接。网口链接函数接口是ZAux_OpenEth();如果链接成功,该接口会返回一个链接句柄。通过操作这个链接句柄可以实现对控制器的控制。
ZAux_OpenEth()接口说明:
项目应用截图:
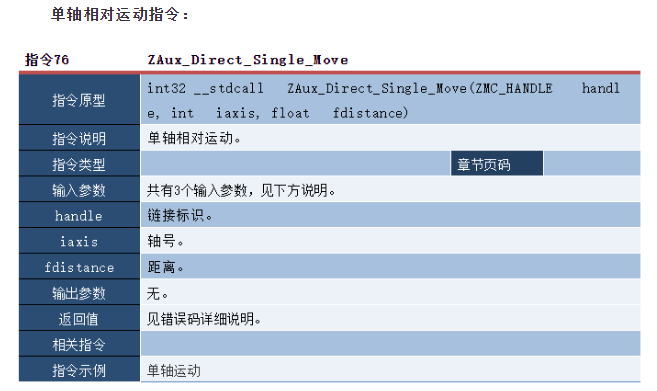
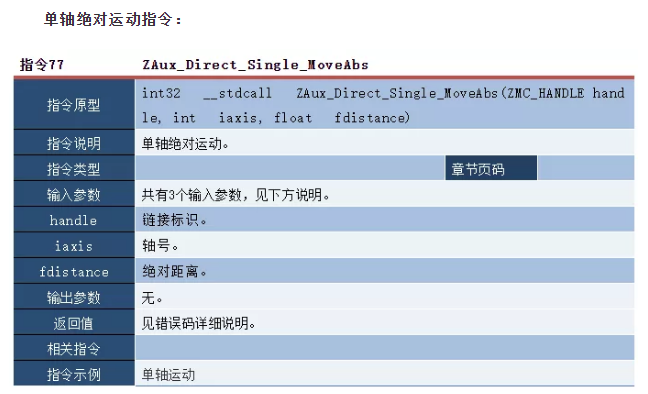
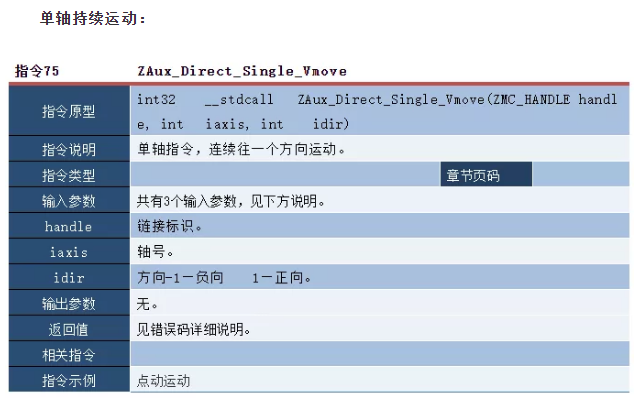
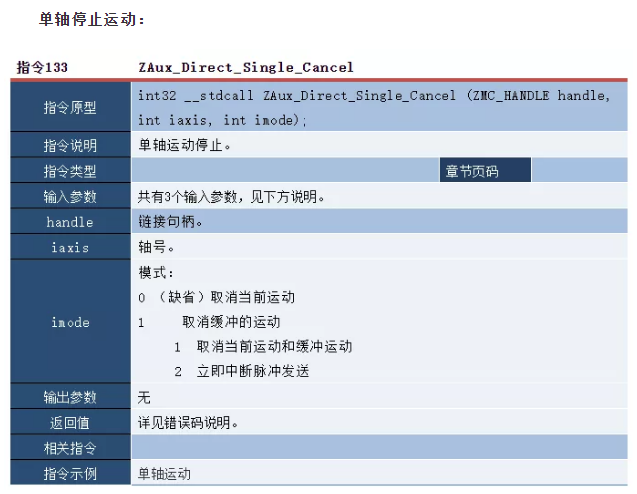
C、使用单轴运动相关的指令操作链接句柄“g_handle”,对控制器进行单轴运动控制,单轴运动相关的指令如下。
3.C#进行单轴运动开发
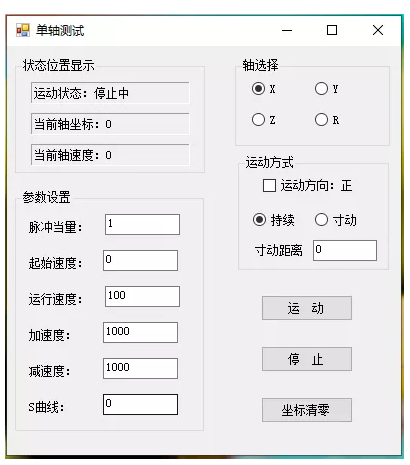
(1)单轴运动控制人机交互界面如下。
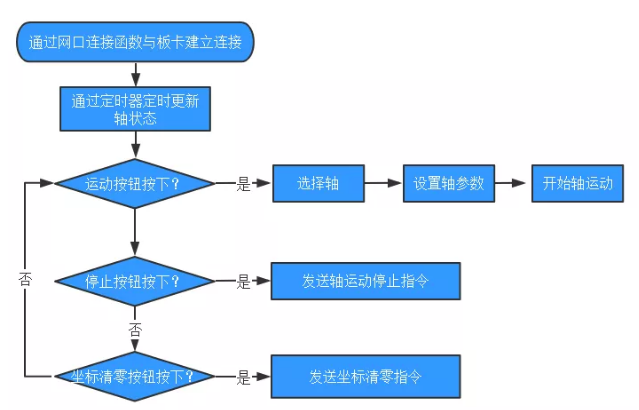
(2)例程简易流程图。
(3)在Form1的构造函数中调用接口ZAux_OpenEth(),使在系统初始化的时候自动链接控制器。
public Form1()
{
InitializeComponent();
//链接控制器
zmcaux.ZAux_OpenEth("192.168.0.11", out g_handle);
if (g_handle != (IntPtr)0)
{
MessageBox.Show("控制器链接成功!", "提示");
timer1.Enabled = true;
}
else
{
MessageBox.Show("控制器链接失败,请检测IP地址!", "警告");
}
}
(4)通过定时器更新控制器轴状态:当前坐标、当前速度等。
//定时器
private void timer1_Tick(object sender, EventArgs e)
{
int runstate = 0;
float curpos = 0;
float curspeed = 0;
zmcaux.ZAux_Direct_GetIfIdle(g_handle, nAxis, ref runstate);
zmcaux.ZAux_Direct_GetDpos(g_handle, nAxis, ref curpos);
zmcaux.ZAux_Direct_GetVpSpeed(g_handle, nAxis, ref curspeed);
label_runstate.Text = "运动状态:" + Convert.ToString(runstate == 0 ? "运行中" : "停止中");
label_curpos.Text = "当前轴坐标:" + curpos;
label_cursp.Text = "当前轴速度:" + curspeed;
}
(5)通过启动按钮的事件处理函数来设置轴参数并开始运动。
//开始运动
private void Run_Click(object sender, EventArgs e)
{
if (g_handle == (IntPtr)0)
{
MessageBox.Show("未链接到控制器!", "提示");
}
else
{
//触发示波器记录波形
zmcaux.ZAux_Trigger(g_handle);
//设置轴参数
zmcaux.ZAux_Direct_SetAtype(g_handle, nAxis, 1);
zmcaux.ZAux_Direct_SetUnits(g_handle, nAxis, Convert.ToSingle(TextBox_units.Text));
zmcaux.ZAux_Direct_SetLspeed(g_handle, nAxis, Convert.ToSingle(TextBox_lspeed.Text));
zmcaux.ZAux_Direct_SetSpeed(g_handle, nAxis, Convert.ToSingle(TextBox_speed.Text));
zmcaux.ZAux_Direct_SetAccel(g_handle, nAxis, Convert.ToSingle(TextBox_accel.Text));
zmcaux.ZAux_Direct_SetDecel(g_handle, nAxis, Convert.ToSingle(TextBox_decel.Text));
zmcaux.ZAux_Direct_SetSramp(g_handle, nAxis, Convert.ToSingle(TextBox_sramp.Text));
//判断是连续运动还是寸动运动
if (radioButton5.Checked)
{
zmcaux.ZAux_Direct_Single_Vmove(g_handle, nAxis, dir);
}
else
{
zmcaux.ZAux_Direct_Single_Move(g_handle, nAxis, dir * Convert.ToSingle(TextBox_step.Text));
}
}
}
(6)通过停止按钮的事件处理函数来停止插补运动。
//停止运动
private void Stop_Click(object sender, EventArgs e)
{
if (g_handle == (IntPtr)0)
{
MessageBox.Show("未链接到控制器!", "提示");
}
else
{
zmcaux.ZAux_Direct_Single_Cancel(g_handle, nAxis, 2);
}
}
4.调试与监控
编译运行例程,同时连接ZDevelop软件进行调试,对运动控制的轴参数和运动情况进行监控。
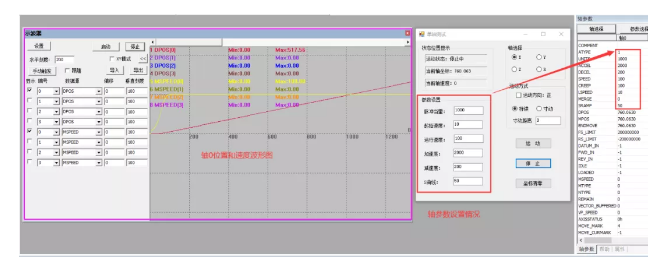
(1)连接ZDevelop软件,并点击“视图”→“示波器”打开示波器对轴运动情况进行监控。
(2)运行上位机软件进行调试监控。
本次,正运动技术EtherCAT运动控制卡的硬件接线与C#的单轴运动控制,就分享到这里。
更多精彩内容请关注“正运动小助手”公众号,需要相关开发环境与例程代码,请咨询正运动技术销售工程师:400-089-8936。
本文由正运动技术原创,欢迎大家转载,共同学习,一起提高中国智能制造水平。文章版权归正运动技术所有,如有转载请注明文章来源。
-
运动控制卡
+关注
关注
7文章
117浏览量
15609 -
ethercat
+关注
关注
19文章
830浏览量
39246 -
正运动技术
+关注
关注
0文章
109浏览量
517
发布评论请先 登录
相关推荐


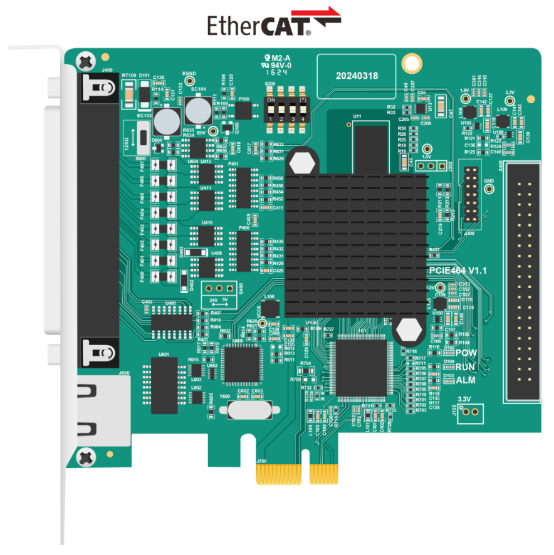
PCIe EtherCAT实时运动控制卡PCIE464的IO与编码器读写应用
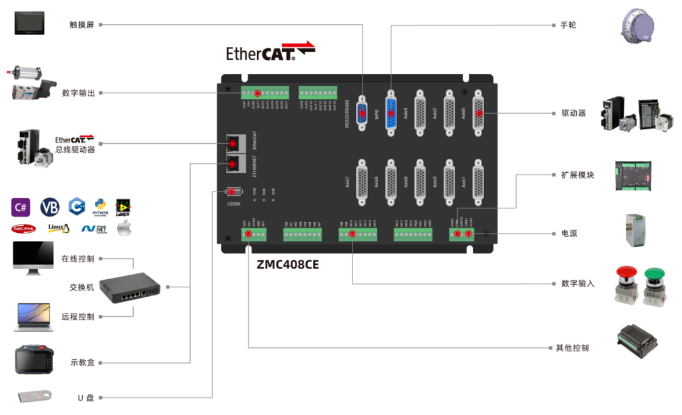
多轴高性能EtherCAT总线运动控制器ZMC408CE硬件介绍
EtherCAT运动控制器在LabVIEW中的运动控制与实时数据采集


 工商网监
工商网监
评论