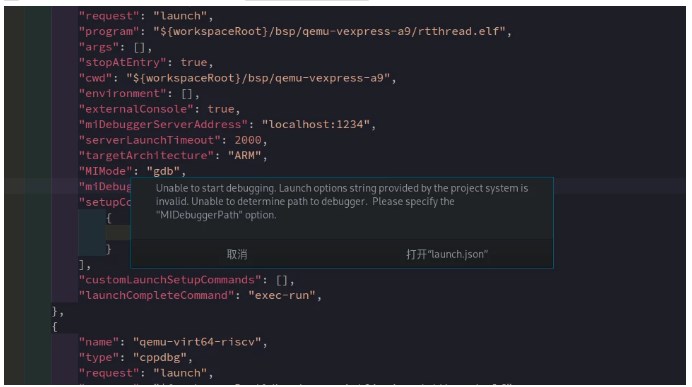
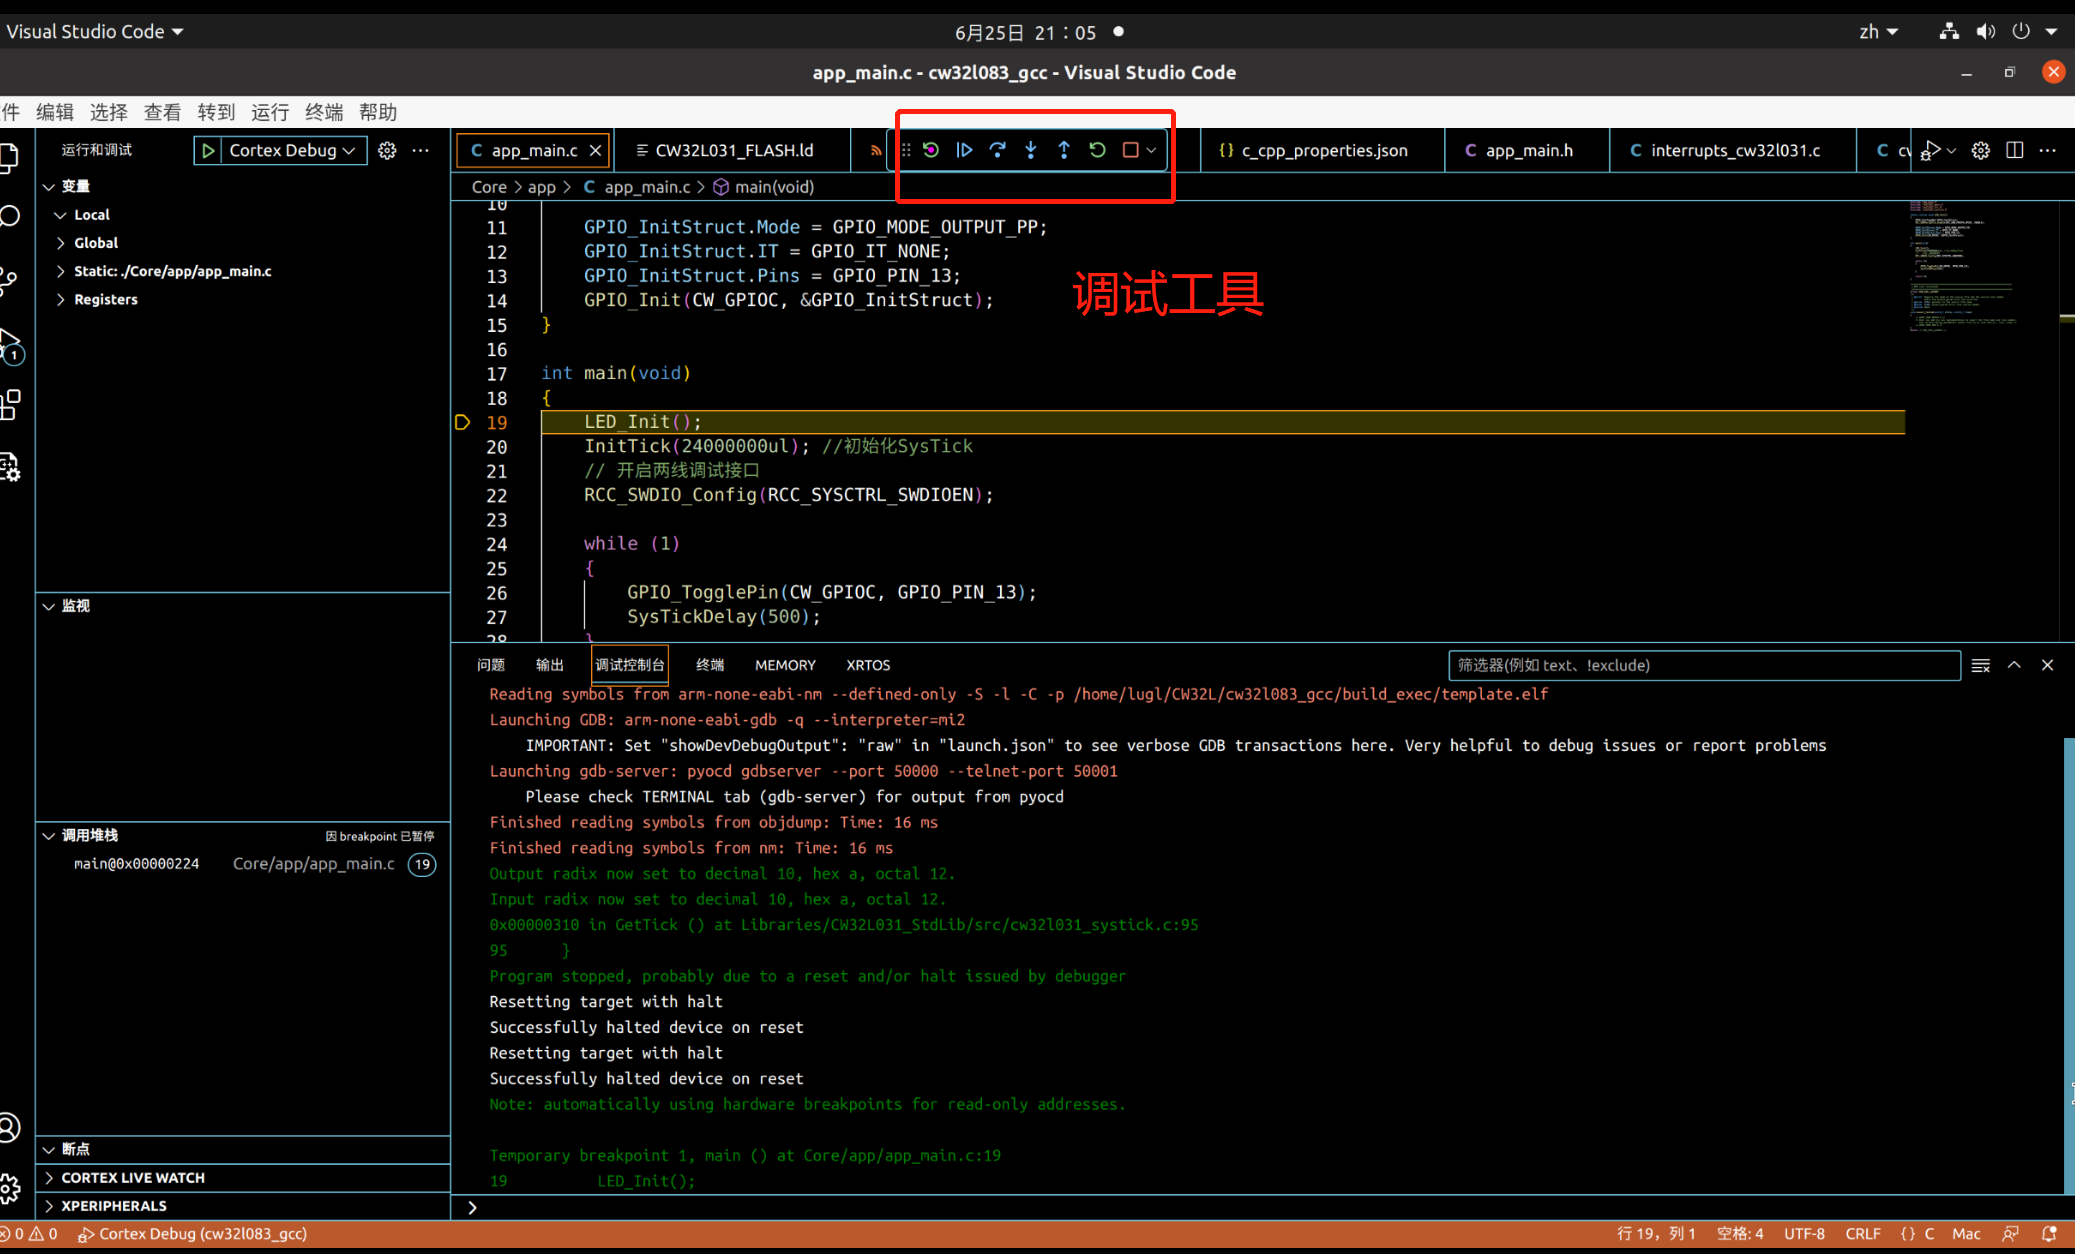
这里介绍了 RTT 常见的几个 bsp 的调试方法,其他的都是类似的形式,照着写即可
前置条件
软件环境
vscode
vscode Cortex Debug 插件
选择性下载的软件
gdb-multiarch
gcc-arm-none-eabi
pyocd
openocd
launch.json 配置文件
这里先贴一下配置文件,给那些只需要配置文件的小伙伴准备的
{
"version": "0.2.0",
"configurations": [
{
"name": "qemu-vexpress-a9",
"type": "cppdbg",
"request": "launch",
"program": "${workspaceRoot}/bsp/qemu-vexpress-a9/rtthread.elf",
"args": [],
"stopAtEntry": true,
"cwd": "${workspaceRoot}/bsp/qemu-vexpress-a9",
"environment": [],
"externalConsole": true,
"miDebuggerServerAddress": "localhost:1234",
"serverLaunchTimeout": 2000,
"targetArchitecture": "ARM",
"MIMode": "gdb",
"miDebuggerPath": "gdb-multiarch",
"setupCommands": [
{
"text": "set backtrace limit 16"
}
],
"customLaunchSetupCommands": [],
"launchCompleteCommand": "exec-run",
},
{
"name": "qemu-virt64-riscv",
"type": "cppdbg",
"request": "launch",
"program": "${workspaceRoot}/bsp/qemu-virt64-riscv/rtthread.elf",
"args": [],
"stopAtEntry": true,
"cwd": "${workspaceRoot}/bsp/qemu-virt64-riscv",
"environment": [],
"externalConsole": true,
"miDebuggerServerAddress": "localhost:1234",
"serverLaunchTimeout": 2000,
"targetArchitecture": "ARM",
"MIMode": "gdb",
"miDebuggerPath": "gdb-multiarch",
"setupCommands": [
{
"text": "set backtrace limit 16"
}
],
"customLaunchSetupCommands": [],
"launchCompleteCommand": "exec-run",
},
{
"name": "qemu-virt64-aarch64",
"type": "cppdbg",
"request": "launch",
"program": "${workspaceRoot}/bsp/qemu-virt64-aarch64/rtthread.elf",
"args": [],
"stopAtEntry": true,
"cwd": "${workspaceRoot}/bsp/qemu-virt64-aarch64",
"environment": [],
"externalConsole": true,
"miDebuggerServerAddress": "localhost:1234",
"serverLaunchTimeout": 2000,
"targetArchitecture": "ARM",
"MIMode": "gdb",
"miDebuggerPath": "gdb-multiarch",
"setupCommands": [
{
"text": "set backtrace limit 16"
}
],
"customLaunchSetupCommands": [],
"launchCompleteCommand": "exec-run",
},
{
"name": "rt-spark-pyocd",
"cwd": "/opt/rt-thread/tools/pyocd/bin/",
"executable": "${workspaceRoot}/bsp/stm32/stm32f407-rt-spark/rt-thread.elf",
"request": "launch",
"type": "cortex-debug",
"runToEntryPoint": "main",
"targetId": "STM32F407ZG",
"servertype": "pyocd",
"serverpath": "/opt/rt-thread/tools/pyocd/bin/pyocd",
"armToolchainPath": "/opt/rt-thread/tools/gnu_gcc/gcc-arm-none-eabi/bin/",
"gdbPath": "/opt/rt-thread/tools/gnu_gcc/gcc-arm-none-eabi/bin/arm-none-eabi-gdb",
},
{
"name": "rt-spark-openocd",
"executable": "${workspaceRoot}/bsp/stm32/stm32f407-rt-spark/rt-thread.elf",
"request": "launch",
"type": "cortex-debug",
"runToEntryPoint": "main",
"targetId": "STM32F407ZG",
"servertype": "openocd",
"configFiles": [
"interface/stlink-v2.cfg",
"target/stm32f4x.cfg"
],
"armToolchainPath": "/opt/rt-thread/tools/gnu_gcc/gcc-arm-none-eabi/bin/",
"gdbPath": "/opt/rt-thread/tools/gnu_gcc/gcc-arm-none-eabi/bin/arm-none-eabi-gdb",
},
{
"name": "hmi-board-pyocd",
"cwd": "/opt/pyocd/bin/",
"executable": "${workspaceRoot}/bsp/renesas/ra6m3-hmi-board/rtthread.elf",
"request": "launch",
"type": "cortex-debug",
"runToEntryPoint": "main",
"targetId": "R7FA6M3AH",
"servertype": "pyocd",
"serverpath": "/opt/pyocd/bin/pyocd",
"armToolchainPath": "/opt/rt-thread/tools/gnu_gcc/gcc-arm-none-eabi/bin/",
"gdbPath": "/opt/rt-thread/tools/gnu_gcc/gcc-arm-none-eabi/bin/arm-none-eabi-gdb",
}
]
}
launch.json 配置文件注意事项
这里是以 rt-thread 源码为路径的,如果不对应的话请修改 launch.json 文件中的 executable 值 ,其中 ${workspaceRoot} 表示的是 vscode 工程的路径
除了 qemu 相关外,其他的 name 值都是使用的开发版名称加调试类型(这里没特殊要求,个人习惯而已,方便调试开发板时选择特定的工程及调试工具)
调试 qemu 时记得安装 gdb-multiarch 工具(archlinux 推荐使用 aur 工具输入 yay -S gdb-multiarch),如果安装了之后还有以下错误,miDebuggerPath 值请使用全路径

使用 openocd 调试时请安装 openocd 工具(archlinux 推荐使用 aur 工具输入 yay -S openocd)
使用 pyocd 调试时请安装 pyocd 工具(archlinux 推荐使用 aur 工具输入 yay -S rt-pyocd-git)(目前无法一条命令配置成功,并且有自己更改的部分,非 archlinux 用户不建议使用,硬要使用也可以下面有具体教程)
使用 gcc-arm-none-eabi 调试时请安装 gcc-arm-none-eabi 工具(archlinux 推荐使用 aur 工具输入 yay -S rt-gcc-arm-none-eabi)非 archlinux 用户请修改 armToolchainPath 和 gdbPath 到 gcc-arm-none-eabi 对应路径,archlinux 用户不用修改路径即可正常使用
pyocd 安装
Windows
安装之后请修改 launch.json 中的 cwd 和 serverpath 值
linux
git clone https://github.com/RT-Thread-Studio/sdk-debugger-pyocd.git
python -m venv /opt/pyocd
/opt/pyocd/bin/pip install pyocd
cp -r sdk-debugger-pyocd/packs /opt/pyocd/bin
rm -rf sdk-debugger-pyocd
cd /opt/pyocd/bin/packs && python ./update_yaml.py
cd -
其中 launch.json 中的 cwd 值表示当前的运行路径,把这个设置到 /opt/pyocd/bin 是为了让 pyocd 找到 pack 包
调试
先在这里选择您所需要的调试

实体硬件需要连接开发板,qemu 需要运行 bsp 路径下的 qemu debug/dbg
按下 F5 即可开始调试
-
gcc编译器
+关注
关注
0文章
78浏览量
3476 -
RTThread
+关注
关注
8文章
132浏览量
41131 -
gdb调试器
+关注
关注
0文章
10浏览量
1120 -
vscode
+关注
关注
1文章
159浏览量
7999
发布评论请先 登录
相关推荐
stm32cubeMX+vscode开发编译调试
在ubuntu中用vscode编译调试C\C++
用VSCode开发AT32单片机
MD-2000系列调制解调器使用和调试说明书
stm32cubeMX+vscode开发编译调试stm32程序

STM32全系列调试接口汇总

在VSCode中使用QEMU调试FreeRTOS
SH7125系列调试MCU板HS7125EDB01H、HS7125EDB02H、HS7124EDB01H用户手册

SH7125系列调试MCU板 HS7125EDB01H HS7125EDB02H HS7124EDB01H 用户手册

使用VSCode调试嵌入式程序:如何切换gdb server


 vscode全系列调试


评论