场景介绍
部分应用在使用过程中需要自定义添加或删除标签的场景,比如在浏览器中的顶部标签栏中需要新打开或关闭网页页签,而这种场景与Tabs组件效果类似,但Tabs组件不提供增加或删除页签的功能,不能自由的增加删除页签,需要开发者自己实现Tabs中增删页签功能。本文以浏览器中增加或删除页签为例,实现Tabs中页签的增删功能。
效果呈现
如下动图所示:

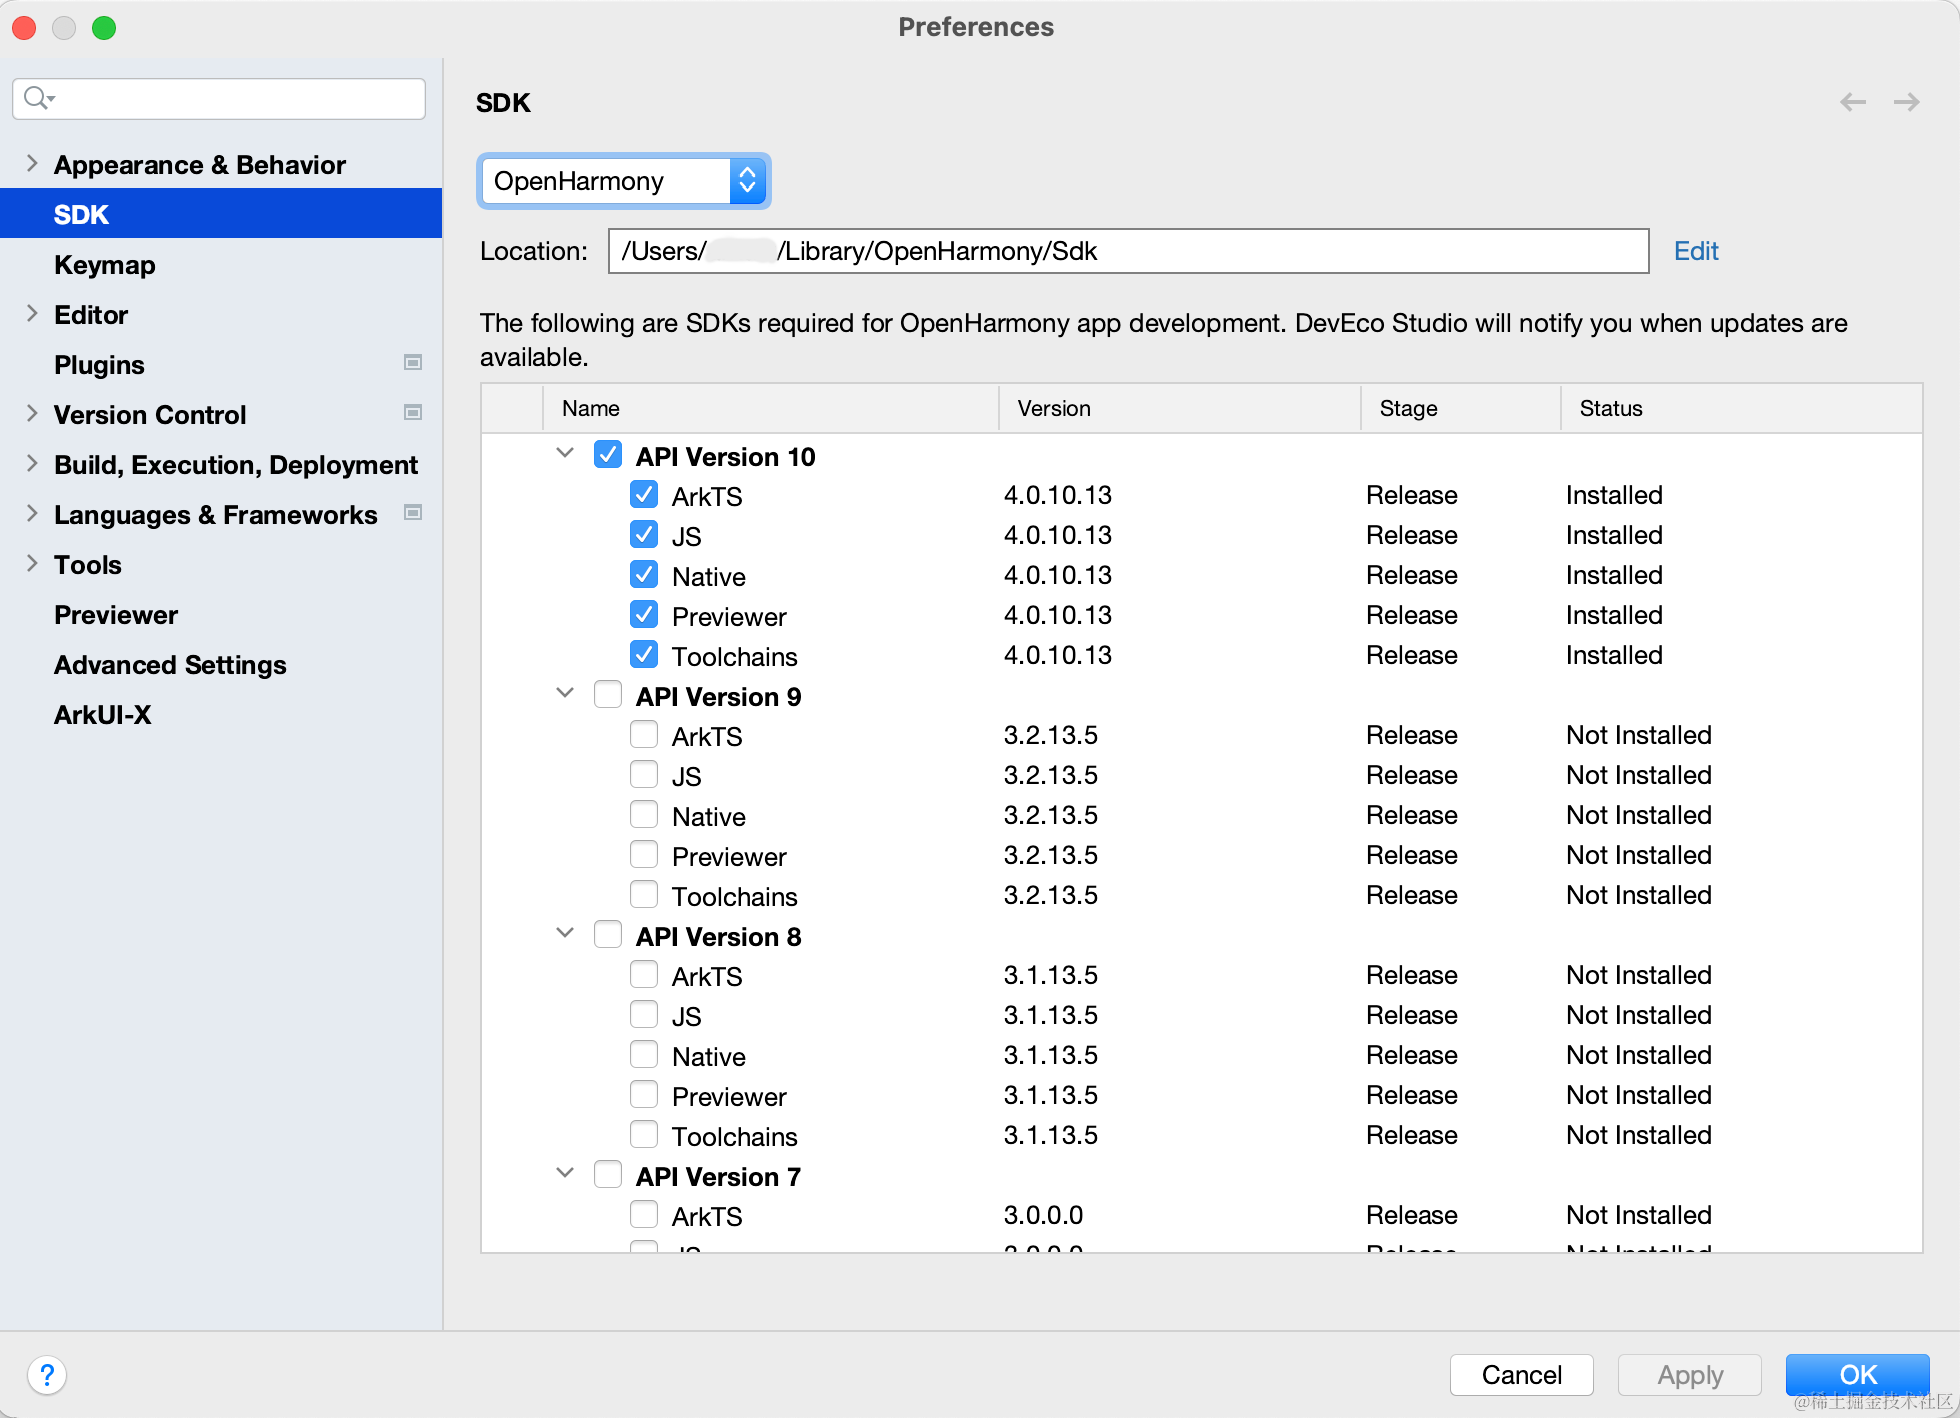
环境要求
本例基于以下环境开发,开发者也可以基于其他适配的版本进行开发:
实现原理
本例涉及的关键特性以及实现方案如下:
- 通过@Builder自定义封装一个导航页签栏,并通过ForEach完成对Tabs组件的内容页和导航页签栏的动态渲染。
- 通过TabsController的changeIndex可实现页面的跳转,传入的index是数组中对应的索引值。
- 页签的增加通过数组的push方法,增加数组元素。
- 删除页签通过通过删除页面对应数组的索引值处的数据完成,删除后页面跳转位置根据业务逻辑要求确定跳转页面对应的索引值。
开发步骤
整体布局分为两部分:页面内容和页签部分。页面视图部分使用Tabs,其中页签对应显示的内容需要放入TabContent组件中。页签部分通过@Builder自定义封装一个tabBar组件,放入Tabs中的tabBar属性中。
页面视图代码块:Tabs({ barPosition: BarPosition.Start, controller: this.controller }) { ForEach(this.tabArray, (item: number) = > { TabContent() { Text('我是页面 ' + item + " 的内容") .height('100%') .width('100%') .fontSize(30) .backgroundColor("#ffffffff") }.tabBar(this.Tab(item)) }, (item: number) = > item.toString() + util.generateRandomUUID()) } .barMode(BarMode.Scrollable, { margin: 30 }) .onChange((index) = > { this.focusIndex = index }) .barHeight(30)自定义tabBar代码块:
//控制页签渲染的数组 @State tabArray: Array< number > = [0] //Tabs组件当前显示的页签 @State focusIndex: number = 0 //创建页签时的页签index @State pre: number = -1 //Tabs组件控制器,根据组件下标控制tab跳转 private controller: TabsController = new TabsController() //自定义导航页签栏 @Builder Tab(tabNumber: number) { Row({ space: 20 }) { Text("页签 " + tabNumber).fontSize(18) Image($r('app.media.ic_public_cancel_filled')).width(20).height(20) } .justifyContent(FlexAlign.Center) .constraintSize({ minWidth: 35 }) .width(120) .height(30) .borderRadius({ topLeft: 10, topRight: 10 }) .backgroundColor(this.tabArray.indexOf(tabNumber) === this.focusIndex ? "#ffffffff" : "#ffb7b7b7") }实现页签和页面视图的联动:这里主要通过TabsController的changeIndex来实现对应的试图跳转,但需要注意由于之后会增删数组元素的操作,所以此处传入的index值是选择页面的tabNumber在数组中的索引值。
this.focusIndex = this.tabArray.indexOf(tabNumber)增添数组元素实现增加页签的效果:增添数组元素使用数组的push方法在tabArray添加数据即可,但由于此demo原始定义的数组是连续的自然数,后续增删数组会打乱原有顺序,所以此处处理为先判断最后一个元素的值再加1,由于TabBar的渲染是通过ForEach被@State修饰的数组,因此当tabArray中添加数据后系统会通知ForEach便利数组重新渲染页面。
this.tabArray.push(this.tabArray[this.tabArray.length - 1] + 1)通常在添加新页面后,浏览器会将页面跳转到新添加的页面,因此在向tabArray中完成数据推送后,需要将页签通过TabsController中的changeIndex方法跳转到最后一个。
this.focusIndex = this.tabArray.length - 1 this.controller.changeIndex(this.focusIndex)当用户选择另一个页签时,可通过自定义页签中通用事件onClick进行控制,当用户点击待选择的页签后,获取当前页签对应的下标,然后通过TabsController中的changeIndex方法进行跳转,此外可以通过更改页签背景颜色标识被选中页签的。
.backgroundColor(this.tabArray.indexOf(tabNumber) === this.focusIndex ? "#ffffffff" : "#ffb7b7b7") .onClick(() = > { this.focusIndex = this.tabArray.indexOf(tabNumber) this.controller.changeIndex(this.focusIndex) })删除页面有三种情况(删除不同位置的页面)。
第一种情况是被关闭页面为最后一个页面,且当前选中的页面为最后一个页面,如果当前被选中页面是刚刚被其他页面创建的情况,因此页面需要跳回到创建被删除页签的页签(逻辑参考chrome浏览器)
if (this.pre >= 0) { this.focusIndex = this.pre } this.tabArray.splice(this.tabArray.indexOf(tabNumber), 1)如果不是的话直接将当前显示页签下下标设置为前一个页签下标,tabArray数组通过splice方法删除页签,并通过TabsController完成跳转,此外页面只要有关闭操作,页面就不可以跳回打开该页面的页面,即将 pre设置为-1。
this.focusIndex = this.focusIndex - 1 this.tabArray.splice(this.tabArray.indexOf(tabNumber), 1) this.pre = -1 this.controller.changeIndex(this.focusIndex)第二种情况,当用户当前选择的不是最后一个标签,然后直接删除其他页签时,可以直接删除删除,但是需要重新计算当前选中页签在tabArray中的实时位置,到新注意需要排除用户在最后一个页签删除当前页签的情况。
//当前选择页面的对应数组中的数据值 let focusNumber = this.tabArray[this.focusIndex] //用于判断是否是用户在最后一个页签删除当前页签的情况 if (this.tabArray.indexOf(focusNumber) >= 0) { this.focusIndex = this.tabArray.indexOf(focusNumber) } this.controller.changeIndex(this.focusIndex)第三种情况,当用户当前选择的不是最后一个标签,且删除被选中页面,直接删除,然后通过TabsController完成跳转,不需要额外操作。
说明
- 由于Tabs组件中的导航页签栏会占满屏幕,导致添加按钮无法直接添加到与页签直接平齐的位置,因此通过层叠布局(Stack)的方式,将添加页签按钮覆盖到Tabs组件上,通过Stack中的对齐方式将添加按钮调整到合适位置。
- 用于Tabs添加或删除子节点时,ForEach需要重新将所有页签进行重新渲染,如果在添加或删除完页签后直接调用TabsController中的changeIndex进行跳转,页面无法调到指定页签。这是由于ForEach还未将组件渲染完成,将子组件挂载到Tabs中,因此建议通过setTimeOut延迟一段时间再进行跳转,经过验证大概50ms后即可,开发者可再自行验证。
setTimeout(() = > { this.controller.changeIndex(this.focusIndex) }, 50)
完整实例
完整示例代码如下:
import util from '@ohos.util'
@Entry
@Component
struct Drag {
//控制页签渲染的数组
@State tabArray: Array< number > = [0]
//Tabs组件当前显示的页签下标
@State focusIndex: number = 0
//创建页签时的页签index
@State pre: number = -1
//Tabs组件控制器,根据组件下标控制tab跳转
private controller: TabsController = new TabsController()
// 单独的页签
@Builder
Tab(tabNumber: number) {
Row({ space: 20 }) {
Text("页签 " + tabNumber).fontSize(18)
Image($r('app.media.ic_public_cancel_filled')).width(20).height(20).onClick(() = > {
//获取Tabs组件当前显示的页签中显示的数字
let focusNumber = this.tabArray[this.focusIndex]
//被删除的页签是否是当前选中的页签,且是最后一个页签
if (this.focusIndex === this.tabArray.indexOf(tabNumber) && this.focusIndex == this.tabArray.length - 1) {
//判断是否需要跳回到创建该页签时的页签,如果不需要直接跳转到前一个页签
if (this.pre >= 0) {
this.focusIndex = this.pre
} else {
this.focusIndex = this.focusIndex - 1
}
}
this.tabArray.splice(this.tabArray.indexOf(tabNumber), 1)
this.pre = -1
//对应删除页面中的第二种情况
if (this.tabArray.indexOf(focusNumber) >= 0) {
this.focusIndex = this.tabArray.indexOf(focusNumber)
}
//设置50ms 延迟跳转
setTimeout(() = > {
this.controller.changeIndex(this.focusIndex)
}, 50)
})
}
.justifyContent(FlexAlign.Center)
.constraintSize({ minWidth: 35 })
.width(120)
.height(30)
.borderRadius({ topLeft: 10, topRight: 10 })
.backgroundColor(this.tabArray.indexOf(tabNumber) === this.focusIndex ? "#ffffffff" : "#ffb7b7b7")
.onClick(() = > {
this.focusIndex = this.tabArray.indexOf(tabNumber)
setTimeout(() = > {
this.controller.changeIndex(this.focusIndex)
}, 50)
})
}
build() {
Column() {
Column() {
// 页签
// Row() {
Stack() {
Row({ space: 7 }) {
//tabs
Tabs({ barPosition: BarPosition.Start, controller: this.controller }) {
  ForEach(this.tabArray, (item: number) = > {
    TabContent() {
      Text('我是页面 ' + item + " 的内容")
        .height('100%')
        .width('100%')
        .fontSize(30)
        .backgroundColor("#ffffffff")
    }.tabBar(this.Tab(item))
  }, (item: number) = > item.toString() + util.generateRandomUUID())
}
.barMode(BarMode.Scrollable, { margin: 30 })
.onChange((index) = > {
  this.focusIndex = index
})
.barHeight(30)
}.width("100%")
Row() {
Image($r('app.media.ic_public_add_filled')).onClick(() = > {
if (this.tabArray.length === 0) {
this.tabArray.push(0)
this.focusIndex = this.tabArray.length - 1
} else {
this.pre = this.focusIndex
this.tabArray.push(this.tabArray[this.tabArray.length - 1] + 1)
this.focusIndex = this.tabArray.length - 1
}
setTimeout(() = > {
 this.controller.changeIndex(this.focusIndex)
}, 50)
}).width(20).height(20)
}.height(30).width(30).backgroundColor("#ffb7b7b7")
.justifyContent(FlexAlign.Center)
}
.alignContent(Alignment.TopEnd)
.width('100%')
.backgroundColor("#ffb7b7b7")
}
.alignItems(HorizontalAlign.Start)
.width('100%')
}
.height('100%')
}
}
本文主要讲解在鸿蒙开发当中ArkUI中的增删Tab页签实现,更多的鸿蒙ArkUI学习,可以参考下面的学习曲线图:

完整版鸿蒙os与openharmony技术路线与文档,可在主页保存

-
鸿蒙系统
+关注
关注
183文章
2636浏览量
66443 -
鸿蒙
+关注
关注
57文章
2369浏览量
42900 -
OpenHarmony
+关注
关注
25文章
3728浏览量
16395
发布评论请先 登录
相关推荐
鸿蒙ArkUI开发-Video组件的使用
鸿蒙开发ArkUI-X基础知识:【ArkUI代码工程及构建介绍】



 鸿蒙ArkUI开发-实现增删Tab页签


评论